
Is Your Uneven Floor a Surface Problem or a Structural One?
Measure an uneven floor, separate board distortion from subfloor dips and structural sagging, and know when to stop DIY work.
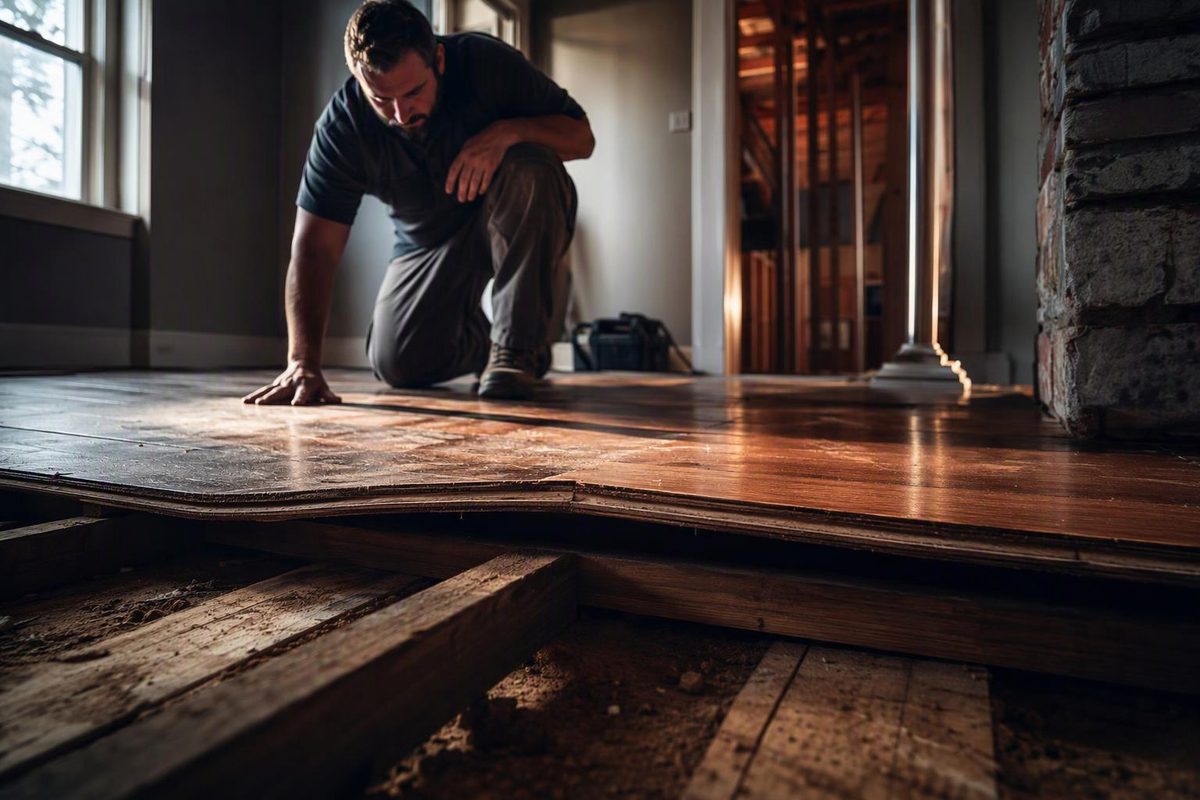
An uneven floor can mean raised hardwood edges, a ridge in the subfloor, a localized dip, or a whole room that slopes. Those conditions need different repairs. Do not start with a sander, leveling compound, or jack until you know which layer is causing the unevenness.
The useful first question is not “How do I make this level?” It is “Is the floor uneven at the surface, in the supporting panels, or in the structure below?”
1. Separate flatness, slope, and movement
These describe different things:
- Flatness: Whether the surface has humps, hollows, or abrupt ridges.
- Level: Whether the surface is horizontal. A floor can be flat but slope across the room.
- Movement: Whether the floor flexes, shifts, or feels springy under ordinary use.
For most wood-floor installations, the substrate needs to be flat, but not necessarily level. That installation requirement does not establish whether a sloping floor is structurally sound. NWFA’s installation guidelines address flatness separately from subfloor integrity.
Stop cosmetic work and arrange an assessment if the unevenness is new or worsening, occurs with pronounced bounce, or accompanies wall and ceiling cracks, sticking doors, visibly damaged framing, or displaced supports. These are reasons to investigate—not proof that the foundation is failing. HUD’s Residential Rehabilitation Inspection Guide, sections 4.4 and 4.7, discusses these signs and several possible causes, including settlement, excessive spans, altered framing, overloading, and lost support.
If a floor has suddenly dropped or appears at risk of giving way, keep people off the affected area and seek urgent professional assessment. Do not enter beneath visibly unstable framing.
2. Map what you can actually measure
For a floor without immediate warning signs, gather a straightedge, ruler or feeler gauge, tape measure, and notebook. A laser level is useful for mapping room-wide elevation changes.
- Clear the measuring area. Remove rugs and loose debris. Note the flooring type and any recent leak, renovation, or heavy load.
- Check local flatness. Lay the straightedge across the suspected dip or ridge in several directions. Record its length, the largest gap beneath it, and where it rocks over a high point.
- Check the room-wide slope separately. Using a horizontal laser reference, record the distance from the beam to the floor at labeled locations. A larger distance means that point is lower.
- Photograph and date the findings. Record whether the problem is one board wide, follows a panel seam, forms a broad hollow, or continues into adjoining rooms.
These methods follow the measurement approach in NWFA’s wood-subfloor flatness guidance. Measurements taken over finished flooring describe the finished surface; they do not prove the condition of the hidden subfloor.
Write findings as “1-inch elevation change across 10 feet” or “3/16-inch gap beneath a 6-foot straightedge,” rather than just “uneven.” Those measurements answer different questions. Neither, by itself, identifies the cause or certifies safety.
3. Use the pattern to choose the next inspection
| Observed pattern | What to investigate next |
|---|---|
| Individual hardwood boards have raised edges or centers | Moisture imbalance and board distortion |
| A narrow ridge follows an exposed plywood or OSB seam | Panel edge swelling, fasteners, and moisture history |
| A localized soft or moving area | Panel damage, attachment, and support below |
| A broad dip or room-wide slope | Joists, beams, posts, bearing points, and foundation movement |
Treat the pattern as a lead, not a diagnosis.
Raised hardwood edges: check moisture before sanding
Cupping means a board’s edges sit above its center; crowning means the center sits higher. Moisture imbalance can cause both. Sanding a cupped floor before it dries can produce crowning after the boards stabilize, as explained by Wagner Meters.
Investigate leaks and conditions below the floor, and have the flooring and subfloor moisture checked. Do not judge readiness by touch alone. Our guide to flattening warped wood explains why moisture stabilization comes before material removal.
Panel ridges or soft spots: establish subfloor integrity
An exposed panel seam may need limited sanding after moisture is resolved, but damaged or delaminated panels need a different repair. NWFA requires movement, water damage, delamination, and other subfloor defects to be addressed before wood flooring is installed. It also warns installers to check what lies beneath the panel before driving screws. See its subfloor integrity and flatness sections.
Use the subfloor repair guide to distinguish refastening from panel replacement. Do not scatter screws through a finished floor without knowing the assembly and hidden utility locations.
Broad sagging: inspect the support system
Where safely accessible, the next inspection belongs below the affected area. Look for damaged joists, missing or questionable connections, leaning posts, deteriorated bearing points, and evidence of earlier structural alterations. HUD emphasizes that each case of sagging, sloping, or springing floors must be diagnosed separately.
A structural engineer is the appropriate next step when load capacity, support movement, or the repair design is uncertain. A flooring installer can assess surface preparation, but that is not a substitute for structural assessment. Do not jack the floor or plane joists as a trial fix. The crawl-space sagging-floor guide covers the broader repair sequence.
4. Flatten only after the cause is resolved
Once the floor is sound and moisture problems are addressed, choose preparation for the specific flooring and installation method. Flattening the surface does not restore damaged framing or lost support.
For wood subfloors, NWFA gives these baseline flatness tolerances unless the flooring manufacturer specifies otherwise:
| Installation method | Maximum variation over 6 feet | Maximum variation over 10 feet |
|---|---|---|
| Mechanical fasteners at least 1½ inches long | 3/16 inch | ¼ inch |
| Glue-down, floating, or mechanical fasteners shorter than 1½ inches | ⅛ inch | 3/16 inch |
These are North American wood-floor installation guidelines, not allowable structural slope limits or universal specifications for vinyl, laminate, or tile. Measure over the specified span; do not assume a short level verifies a 10-foot requirement.
For stable low areas, an approved patch, leveling underlayment, or panel buildup may be appropriate. Do not assume every compound works over plywood or OSB—or can be nailed through. For example, MAPEI’s Self-Leveler Plus requires primer and, when used over plywood, two layers of exterior-grade plywood, each at least ⅝ inch thick, totaling at least 1¼ inches. Those are substrate and primer requirements, not a complete installation procedure; follow the product’s full instructions. Other products have different requirements.
Before approving the repair, ask for three things: the identified cause, the work needed to make the supporting floor sound, and the finished-floor preparation specification. Recheck flatness and moisture after that work, before the uneven floor disappears beneath a new covering.