
Choose the Right Repair for a Failing Subfloor
Match squeaks, soft spots and swollen seams to the right subfloor repair. Learn when fastening is enough, panels need replacing or framing needs assessment.
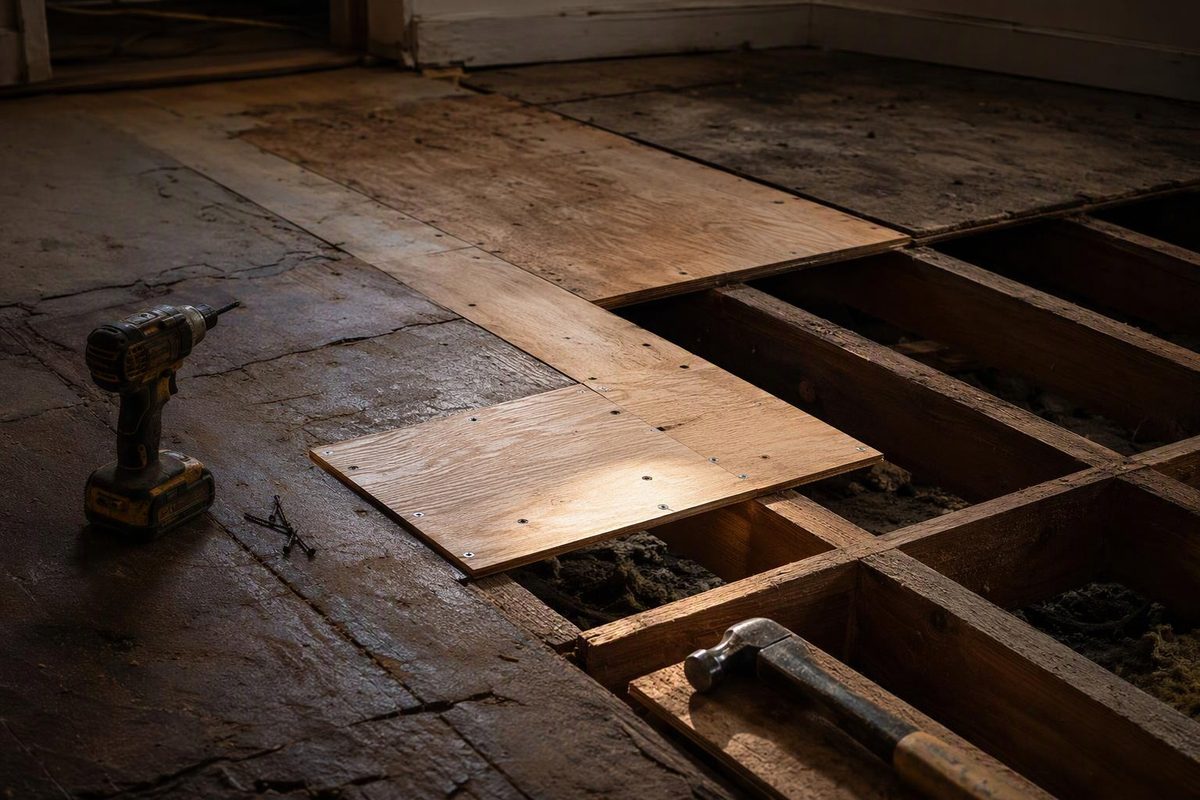
Sub floor repairs should match the failed layer: refasten a sound panel that has loosened, replace panel material that has lost its integrity, and get damaged framing assessed before closing the floor. A squeak, stain or dip alone does not establish which repair is needed.
This guidance covers plywood and OSB subfloors over wood framing. A panel system over a concrete slab needs a different approach; start with subfloor assemblies over concrete.
Choose the panel condition, movement pattern and moisture status to find the next repair step.
Subfloor Repair Route
Do Not Choose a Repair Yet
Locate the moving layer, inspect panel and framing condition, and check moisture before choosing fastening or replacement.
Keep people and heavy loads off a visibly failing area. This tool cannot confirm structural safety or flooring moisture acceptance.
Repair Routes and Limits
Refasten: only for a sound panel moving against sound framing, after checking utilities and the assembly’s fastener requirements.
Replace: soft, crumbling or separating material needs removal. Support the patch perimeter and retained edges, and inspect the exposed framing.
Raised seam: address moisture, then reassess panel integrity and the chosen flooring’s flatness requirements. Surface preparation is not a repair for weak material.
Structural assessment: broad sag or damaged framing requires assessment before panel repair. Damage under a wall or into a support also needs a repair plan.
Finish-floor repair: if only a finish board moves and the base remains sound and still, investigate its attachment or joint rather than replacing the subfloor.
Sources: APA floor-system and squeak guidance; LP water-damaged subfloor guidance. Flooring acceptance must follow the chosen product’s instructions.
Locate the Failed Layer Before Choosing a Repair
Separate the finish flooring you walk on, any underlayment beneath it, and the structural subfloor supported by joists. Thin underlayment is not interchangeable with a structural floor panel. APA explains the different roles of subfloor and underlayment.
Mark the affected area. Establish whether the problem is confined to one finish board, a panel seam or a broader area, and whether there is visible movement or only noise. Note whether it appeared after a leak, appliance replacement or flooring installation. A longstanding slope and a floor that is actively changing need different investigations.
Inspect the underside from a basement or crawl space only where access is safe. Use a straightedge above to map local gaps and raised seams. Record their locations rather than treating every low spot as a leveling-compound job.
| Observation | Check First | Repair If Confirmed |
|---|---|---|
| One finish board moves; base stays still | Flooring attachment or joint | Repair finish flooring |
| Sound panel moves against a joist | Panel-to-joist fastening | Targeted refastening |
| Raised seam; panels otherwise solid | Moisture and flatness after drying | Surface preparation or replacement |
| Soft, crumbling or separating panel | Damage extent and framing below | Replace damaged material |
| Broad sag or damaged supports | Framing and load path | Structural assessment |
Squeaks can arise between layers, at fasteners, or even at bridging and ductwork. APA’s floor-squeak guidance calls for inspection to identify the cause. For a noise-only problem, use the focused guide to repairing a squeaky floor at its source.
Keep people and heavy loads off a visibly failing area. If you find deteriorated joists, damaged supports, or movement extending beyond a panel, new plywood alone is not a repair plan. LP recommends consulting a design professional when framing damage requires replacement in its water-damaged subfloor repair guidance.
Stop Moisture Before Deciding What to Keep
Repair the leak or address the moisture source before installing replacement material. Check plumbing penetrations and inspect the underside where accessible; the visible stain may not show the full extent of wetting.
Wet does not automatically mean ruined. LP distinguishes a strong, solid but wet subfloor—which may be dried—from rotted or spongy material that needs removal. Drying does not restore wood already lost to decay. LP’s repair sequence puts stopping the water and exposing the damage ahead of replacement.
Use a moisture meter appropriate for the material. Record readings in the affected area and at nearby unaffected locations, then follow the finished-floor manufacturer’s acceptance requirements. Do not rely on touch or a fixed number of drying days.
For example, Shaw’s Repel hardwood instructions require moisture testing of both wood subfloor and flooring. Those product requirements are not a universal rot test, and the guidance here does not establish a universal moisture cutoff for every flooring product.
For recurring dampness below the house, work through crawl-space wood-rot diagnosis before sealing the repaired floor back up.
Refasten Only When the Panel and Framing Are Sound
Refastening is appropriate after confirming that the panel and framing are sound and that movement occurs at their connection. Identify the joist location and check for pipes, wiring and ducts before driving fasteners.
Use fasteners approved for the panel-and-framing assembly, with the specified length and spacing. Do not scatter screws through the finish floor or assume drywall screws are suitable.
Adhesive used during installation can improve the panel-to-joist connection, but it does not replace required fastening or sound wood. APA describes the glued floor system. Adding fasteners to soft or separating panel material does not restore the material itself.
Patch Local Damage With Supported Structural Material
A patch must restore structural support, not just cover a hole. If deterioration extends across several panels, plan a larger replacement rather than a series of small patches. The repair boundary should follow the exposed damage and the support needed for the replacement.
Expose Sound Material Without Creating Another Hazard
Before disturbing older resilient flooring, backing or adhesive of uncertain composition, resolve the asbestos question. EPA advises against sawing, sanding or scraping suspect materials and recommends professional assessment.
Inspect below before cutting. Confirm panel thickness, framing locations and utility routes. Set the cutting depth to the layer being removed. Stop if access or hidden conditions prevent a safe cut.
Support Both the Patch and the Retained Edges
Arrange the patch perimeter over joists or properly attached blocking, including support for retained panel edges. Cutting away a tongue-and-groove joint removes that edge connection; do not leave a cut edge hanging between joists.
APA’s floor-construction guide shows tongue-and-groove edges or blocking between supports. For I-joists or floor trusses, obtain a blocking and attachment detail appropriate to that framing rather than copying a solid-lumber detail.
Remove deteriorated material and reassess the framing. Damage continuing beneath a wall or into a support is a reason to stop and get a repair plan, not to keep enlarging the opening blindly.
Specify the Panel and Its Installation
Match the required thickness, grade, span rating and orientation—not merely the appearance of the old sheet. Follow the panel instructions and applicable local requirements for gaps, adhesive and fastening.
Panel span ratings depend on support spacing and installation conditions. APA’s guide assumes panels continuous over two or more spans for its stated ratings. A small offcut spanning one joist bay is therefore not automatically equivalent to a full installed panel. Have the patch and blocking detail checked when the intended support is uncertain.
For a larger replacement, use the subfloor installation guide to plan the complete assembly.
Verify Moisture, Support and Flatness Before Covering the Repair
Check that the repaired area is dry enough for the chosen flooring, connections are secure, and no unsupported edge or unexplained movement remains. Then check flatness across the patch and adjoining panels.
Flat and level are different: a sloping floor can be flat, while a nominally level floor can have a raised seam. Use the finished-floor product’s flatness limits. As one product-specific example, Shaw Repel specifies 3/16 inch within 10 feet or 1/8 inch within 6 feet. Those limits do not establish the requirements for every floor covering.
Choose a compatible surface patch or leveling product only after structural and moisture problems are resolved. Surface filler, thin underlayment and new flooring cannot restore a weak subfloor.