
Fix a Squeaky Floor by Stopping the Moving Layer
Pinpoint whether the noise comes from hardwood, subfloor, or framing, then choose a safe repair from below or above without scattering random screws.
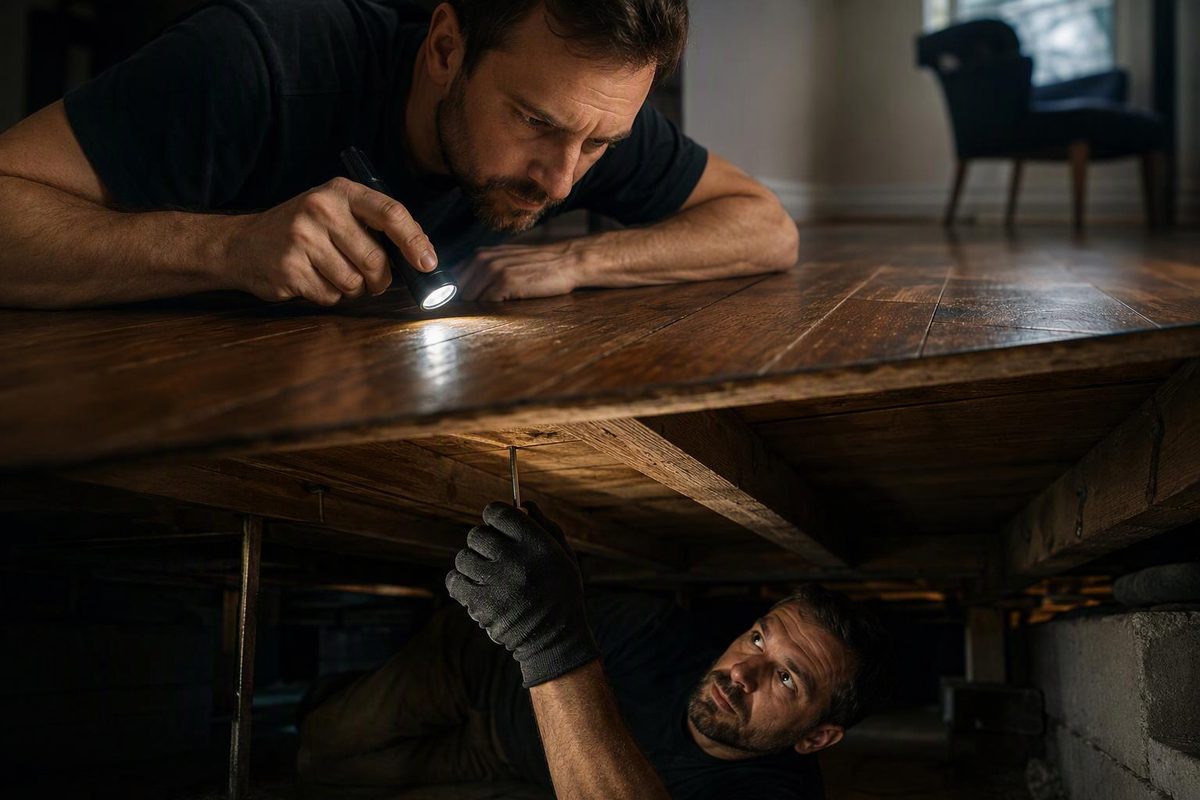
A lasting squeaky-floor repair stops movement at the layer producing the noise. Pinpoint the smallest repeatable area, identify whether boards, subfloor or framing move there, then secure that connection from below when possible. Do not begin by scattering screws around the sound: floors can amplify noise, and a misplaced fastener can damage the finish, a pipe, wiring or radiant-heating tubing.
Choose the surface, movement and access; the tool will identify the safest first repair.
Match the Movement to a Repair
First repair
Test the Hardwood Joint With Dry Graphite
Work a small amount of powdered graphite into the noisy joint, then remove the residue. This is a reversible friction test, not a repair for loose subflooring.
Avoid: Liquid or oily lubricant and random surface screws.
Basis: APA Technical Note C468, NWFA 2025 Installation Guidelines, and the repair methods cited in the accompanying article. No screw length is supplied because the complete floor assembly must be measured.
Diagnose the Moving Layer
Clear the area, then have one person walk or rock their weight over the squeak while another listens and watches from below, if the basement or crawl space is safely accessible. Mark the smallest repeatable area with painter’s tape. Look for vertical movement, a gap above a joist, a loose fastener or movement at a subfloor seam.
APA notes that squeaks can originate at several interfaces, including subfloor and joists, subfloor and underlayment, nails and panels, bridging, hangers and ducts. Each problem needs inspection before repair (APA Technical Note C468). Treat these observations as leads rather than proof:
| What You Observe | Likely Movement | First Repair to Consider |
|---|---|---|
| Noise at a hardwood-board edge, with no movement below | Boards rubbing or a fastener | Dry lubricant as a reversible test |
| Subfloor lifts from a joist when stepped on | Loose subfloor-to-joist connection | Adhesive shim or underfloor bracket |
| Panel edges move at a seam between joists | Inadequate seam support | Blocking beneath the seam |
| Finished wood moves but the subfloor does not | Flooring loose from the subfloor | Sized screw from below or a surface repair system |
| Broad bounce, softness, sagging or staining | Possible moisture, subfloor or framing damage | Stop and inspect the assembly |
Poorly fastened sheathing, missed joists, missing joist-hanger fasteners, adhesive problems and subfloor shrinkage can all produce noise, according to Hardwood Floors Magazine’s review of noisy floor systems. Water exposure can also loosen a floor system, with squeaks sometimes developing after the floor has dried, as flooring professionals describe in this subfloor-squeak review.
Stop before making a cosmetic repair if the floor is soft, newly sagging, unusually bouncy, visibly water-damaged or accompanied by rot. Resolve leaks and assess the wooden subfloor and framing first. A squeak alone does not establish structural damage, but fastening a weak panel to decayed framing does not restore capacity.
Repair From Below When Possible
Underfloor access preserves the visible floor and lets you watch the moving connection. Wear eye protection, stay clear of wiring, pipes and ducts, and do not enter an unsafe crawl space.
Close a Small Joist-to-Subfloor Gap
- Ask a helper to stand near the marked spot while you confirm the moving gap.
- Coat a thin wood shim with compatible construction adhesive.
- Slide it into the gap only until snug.
- Let the adhesive cure as directed, then retest.
Do not hammer the shim hard. Overdriving it can widen the gap or lift the subfloor. Both The Home Depot’s repair guide and Family Handyman’s underfloor method warn against forcing a shim into place.
A purpose-made underfloor bracket is another option. Its plate attaches to the subfloor, and its hardware pulls the panel toward the joist. Follow the kit instructions rather than improvising screw locations or tightening force.
Support a Moving Panel Seam
If two subfloor edges move at a seam between joists, a shim at one joist will not support that seam. One repair is snug wood blocking beneath the joint, with construction adhesive at the panel and wood screws securing the block at its ends. Family Handyman illustrates this glued-and-screwed blocking method. Keep fasteners clear of utilities.
Do not cut, notch or drill engineered I-joists or floor trusses without an approved detail from their manufacturer. Widespread unsupported seams, an inadequate panel system or broad deflection calls for more than spot blocking.
The NWFA’s 2025 installation guidelines link minimum panel thickness to joist spacing and say most panel manufacturers recommend gluing and fastening panels to framing to reduce squeaks. If the assembly itself is inadequate, plan reinforcement or subfloor replacement instead of chasing each noise.
Secure Loose Hardwood From Underneath
When the finish board moves but the subfloor remains still, it may be possible to draw the layers together with a wood screw driven upward through the subfloor.
First determine the combined thickness of the subfloor and finish flooring, commonly at a floor register or another exposed edge. Select a screw that remains safely short of the finished face. Mark the drilling depth on the bit, drill a pilot hole, and have a helper press the board down while the screw is set flush—not buried—against the subfloor.
Family Handyman’s method specifies measuring the complete assembly, using a screw shorter than that thickness and avoiding a countersunk head that could push the point through the face.
If the thickness or location of concealed utilities is uncertain, do not guess. A screw point through the floor face, pipe or cable creates a much larger repair than the squeak.
Repair From Above When Access Is Closed
Treat Rubbing Exposed Hardwood First
For a light board-to-board squeak with no soft spot or visible vertical movement, work a small amount of powdered graphite into the joint and remove the residue. This can reduce friction, as described in The Home Depot’s hardwood-floor method, but it does not repair a loose subfloor. Avoid liquid or oily lubricants that could mark the wood or complicate later finishing.
If the board must be fastened, use a floor-specific breakaway or trim-screw system suitable for that floor. Locate the framing or follow the kit’s locating method, drill the specified pilot hole, drive the fastener to the prescribed depth and touch up the small hole. This Old House demonstrates this approach, including finding a joist before driving the scored screw.
The filled hole may remain visible. On a new floor, contact the installer before drilling because the cause may involve installation, subfloor flatness or moisture, and an alteration may affect the warranty.
Use a Carpet-Specific Fastener System
Do not blindly drive a standard screw through carpet. If the carpet cannot be lifted, use a system specifically made to locate a joist and drive a scored screw through carpet. Its fixture then breaks the head below the surface. This Old House describes the dedicated carpet repair method.
Do not drill until you have ruled out radiant-heating tubing, pipes and cables in the fastener path.
Do Not Pin Floating, Resilient or Tile Flooring
Do not pin a floating floor through its surface unless its manufacturer expressly provides a repair detail. Check the locking joints, perimeter clearance, underlayment and subfloor flatness against the product instructions.
With tile or sheet flooring, investigate from below where possible rather than drilling through the finish. Opening access from below or consulting a flooring professional is safer than creating an irreversible hole without confirming the moving layer.
Retest Before Adding Another Fastener
After each repair, walk the same path and watch the same connection. If the sound changes location, diagnose again instead of extending a line of screws.
Persistent or widespread noise can indicate several loose connections, moisture-related movement or an under-supported assembly. Those conditions need a floor-system repair rather than repeated cosmetic patches.