
Squeaky Floor Upstairs? Choose the Access Before the Repair
Locate an upstairs squeak and decide whether carpet access, a hardwood repair, or a planned ceiling opening can reach the cause safely.
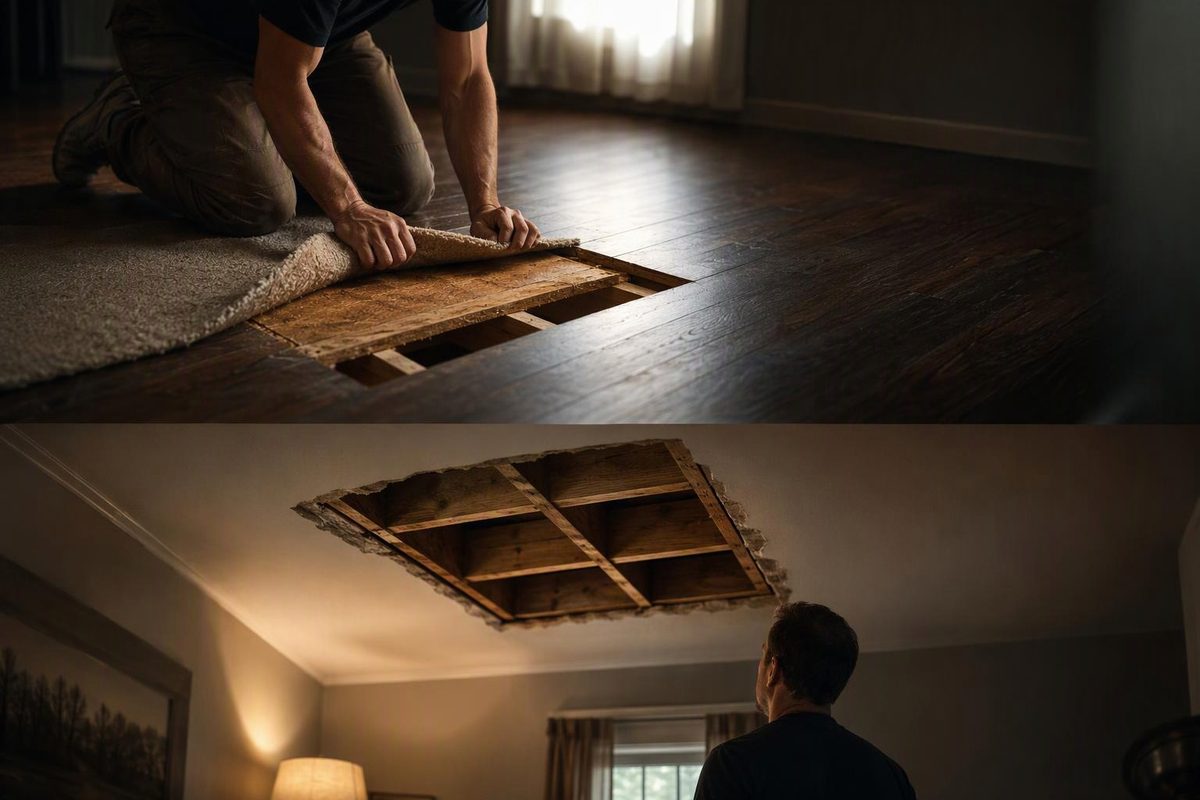
A squeaky floor upstairs does not automatically mean the joists are failing. Noise can originate between the subfloor and joists, between floor layers, or at fasteners and other contacts. APA’s floor-squeak technical note identifies several possible connections and stresses inspection before choosing a correction.
The upstairs complication is access: a finished ceiling below hides both the movement and any pipes or wiring near the repair. Do not open the ceiling automatically—but do not treat blind fastening from above as the harmless alternative. Choose access that lets you confirm and reach the cause.
1. Map the squeak from both rooms
Have one person walk slowly across the upstairs floor while another listens below. Reproduce the noise with ordinary steps rather than jumping. Mark the upstairs spot with removable tape compatible with the finish, and measure its position from two fixed reference points that can also be identified downstairs.
Record:
- Whether one board, a narrow line, or a broad area triggers the sound.
- Whether the surface visibly moves when loaded.
- Whether the noise occurs near a wall, doorway, floor register, or bathroom.
- Whether it is longstanding, newly developed, or spreading.
- Whether there is staining, softness, a developing dip, or unusual bounce.
Do not treat the loudest spot on the downstairs ceiling as the exact repair location. Floors can amplify small movements. Listening through a finished ceiling helps map the problem; it does not confirm which hidden connection moves. With the underside exposed, Family Handyman’s diagnostic guide recommends watching the subfloor while a helper loads the area.
Stop ordinary squeak repair if there is new sagging, pronounced bounce, soft flooring, active leakage, or growing cracks nearby. These observations do not diagnose structural failure, but they justify inspection before adding fasteners. A flooring professional or carpenter can investigate the assembly; suspected framing damage or progressive movement warrants a structural engineer.
2. Decide what access can actually reveal
Identify the finish and its installation method first. “Engineered hardwood” alone does not tell you whether the floor is nailed, glued, or floating. For the broader diagnosis of boards, subfloor, framing, and rubbing components, use our general squeaky-floor repair guide.
For an upstairs room, compare these access routes:
| Access route | When to consider it | Main limitation |
|---|---|---|
| Through carpet with a compatible kit | A confirmed loose subfloor-to-joist connection | Carpet still hides the panel condition and utilities |
| Carpet and pad lifted | Widespread squeaks or carpet already being replaced | Carpet must be properly reinstalled |
| Through exposed hardwood | A confirmed loose board suitable for fastening | The repair leaves a hole to conceal |
| From below through existing or planned access | The cause remains concealed or the upstairs finish should be preserved | Ceiling opening and restoration become part of the job |
A localized fastening repair can help a loose connection. It cannot establish that damaged framing is safe.
3. Match the repair to the available access
Carpet upstairs, finished ceiling below
A carpet-compatible breakaway-screw kit may be suitable when the confirmed problem is a loose plywood or chipboard subfloor connection to a joist. It needs a verified joist location and a safe fastening path—not a guessed row of screws.
The Squeeeeek No More instructions specify a depth-control fixture and scored screws, with exposed heads snapped off below the floor surface. They also require protection of the screw threads when working through loop/Berber carpet to reduce snagging. Use the complete specified system, wear eye protection, and check that no screw heads remain exposed. The manufacturer’s instructions distinguish carpeted-subfloor work from hardwood repairs.
A joist finder does not establish that the path is clear of utilities. If plumbing, wiring, or radiant heating cannot be ruled out, stop blind drilling. Lifting the carpet and pad gives a professional better access to inspect and refasten the subfloor, though concealed services still need checking.
Exposed hardwood or floating planks
A repair from above may secure a confirmed loose hardwood board, but screw choice and penetration depend on the actual floor layers and thickness. Do not apply a carpet-kit procedure indiscriminately to hardwood. Use our guide to fixing squeaky hardwood from above for that narrower decision.
Do not screw through a floating floor to quiet it. That pins a surface intended to move. For example, NovaFloor’s Ellis HDC instructions prohibit screws through the flooring because restricting movement can cause gapping or buckling. Check your own product’s instructions, then investigate clearance, joints, and substrate support.
Accessible joists below—or planned ceiling work
Visible underside access lets you distinguish a small joist-to-subfloor gap from a moving panel seam or loose finish board. A small, confirmed gap may accept adhesive-coated shims fitted snugly without lifting the subfloor. Driving shims hard can widen the gap and create another squeak. Family Handyman’s shim repair illustrates this distinction.
Unsupported seams may need blocking; loose hardwood may be fastened from below only with verified thickness and controlled penetration. Neither is a universal repair for damaged framing.
If the ceiling is finished, weigh a targeted inspection opening against damage to the upstairs finish. Ask the contractor to plan around concealed services, check whether the ceiling belongs to a fire- or sound-rated assembly, and specify how it will be restored. In an apartment or rented home, involve the owner or building manager before arranging invasive work. Do not cut exploratory holes blindly.
4. Retest before expanding the repair
After one targeted repair—and allowing any adhesive to cure as directed—repeat the same walking route upstairs while a helper listens below. Check for both noise and movement.
If the squeak persists or shifts, reassess the connection rather than scattering more screws. Ask a repair professional to identify the moving layer, explain the access needed, and include carpet reinstallation or ceiling restoration in the scope.