
Quiet a Loose Hardwood Board Without Driving Random Screws
Find the moving board, confirm the floor assembly, and choose a trim-screw or breakaway repair—with clear stop points for moisture and hidden utilities.
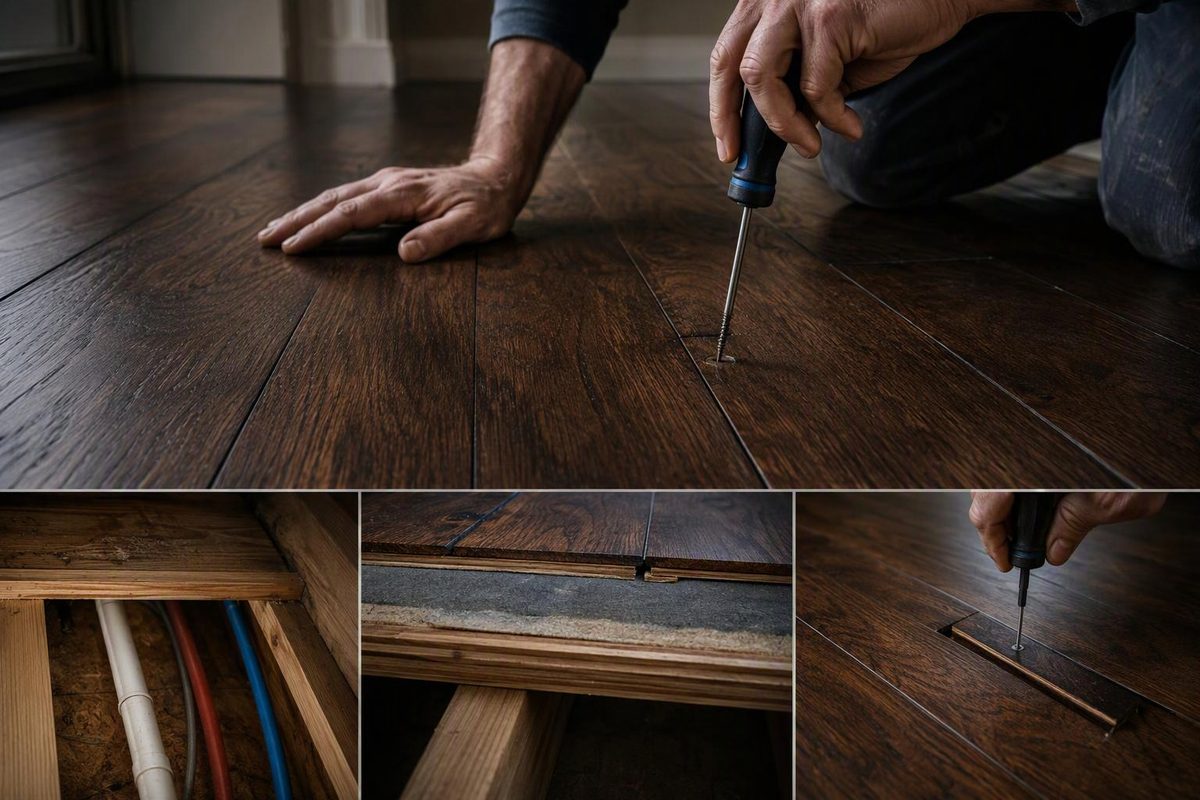
To fix a localized squeak from above in nailed hardwood over a sound wood subfloor, secure the loose board with a suitable trim-head screw or hardwood-rated breakaway screw, then patch the hole with matching putty or filler. The patch may remain visible. This repair is not appropriate for floating flooring, and it will not necessarily fix movement in the subfloor or framing.
Before drilling, establish which layer moves and whether the screw path is safe. If the floor feels soft, is newly sagging or shows water damage, stop and have it assessed rather than fastening the surface down.
Choose your installation, movement pattern and clearance status to check whether a screw repair fits.
Check Your Above-Floor Repair Route
Do Not Drill Yet
Confirm the installation, isolate the moving layer, and establish a safe penetration depth before choosing a screw repair.
This check does not specify a screw length or verify hidden utilities. A single moving board suggests an attachment problem; it does not prove one.
Sources: NWFA installation guidelines; Home Depot above-floor repair instructions; Squeeeeek No More kit guide.
Pinpoint the Moving Board Before Drilling
Have a helper walk slowly across the noisy area while you watch the board joints. Mark the triggering spots with small pieces of tape approved for the finish; test the tape somewhere inconspicuous first.
| Observation | What It Suggests | Next Step |
|---|---|---|
| One board moves; pressure changes the squeak | Possible loose-board attachment | Verify the floor assembly |
| Several boards dip together | Possible subfloor or framing movement | Assess the moving layer |
| Seasonal noise, gaps or raised edges | Possible moisture-related movement | Check humidity and moisture |
| Softness, new sagging or water damage | More than a surface squeak | Stop the screw repair |
Pressing one board down and changing the noise suggests a localized attachment problem, but does not prove it. Squeaks can originate at subfloor-to-joist connections, fasteners, blocking and other interfaces—not just between hardwood boards. Weyerhaeuser’s floor-squeak technical sheet explains these different sources.
If the noise changes seasonally alongside gaps or raised board edges, investigate moisture before fastening distorted boards down. Wood swells as it gains moisture and shrinks as it loses it, according to the National Wood Flooring Association’s moisture guidance.
If you cannot isolate a moving board, use the broader squeaky-floor diagnosis guide before making holes.
Confirm the Installation and Safe Screw Depth
Check installation records, a spare board, or an accessible edge at a floor register or threshold. Establish whether the flooring is solid or engineered, whether it is nailed, glued or floating, and the flooring thickness and material and thickness beneath it. Also determine whether pipes, wiring or radiant-heating components could lie in the proposed drill-and-screw path.
Do not screw a floating engineered floor to the subfloor. Floating panels are not attached to their substrate and must remain able to move as an independent unit. The NWFA installation guidelines describe that requirement and warn installers to consider what lies beneath the subfloor before driving screws.
For glue-down hardwood, including flooring over concrete, do not default to a screw repair. NWFA identifies repair-adhesive injection as an option for localized hollow spots, minor deflection or slight popping in nailed or glued installations. Have the installer confirm the cause and a compatible repair system.
If you cannot establish the floor assembly or a safe penetration depth, stop and have a flooring professional inspect it. A squeak is not a reason to drill exploratory holes through finished hardwood.
Secure a Confirmed Loose Board With a Trim Screw
For a loose board in nailed flooring over a suitable wood subfloor, gather a drill/driver, the specified pilot bit, a depth stop, a suitable trim-head wood screw, eye protection and a finish-compatible, color-matched hole repair product. Check the flooring manufacturer’s repair requirements, especially for engineered or factory-finished boards.
There is no universal screw length. It must provide adequate purchase in the receiving wood without creating an unsafe penetration beneath it. The sources here do not establish one length suitable for every floor assembly.
- Choose the fastening point. Target the board that moves rather than scattering screws around the loudest area. Keep the hole away from splits and damaged edges. Home Depot’s above-floor repair instructions place the pilot hole at least 1/2 inch from the board edge.
- Drill the pilot hole. For its trim-screw method, Home Depot specifies an angled pilot through the hardwood, but not into the subfloor. Match the bit to the fastener instructions and control the drilling depth for the verified assembly.
- Hold the board down and drive the screw. Have your helper apply pressure nearby. Drive slowly until the head sits just below the surface. Stop if the board splits, dimples, or the screw spins without tightening; do not keep sinking it farther.
- Retest before filling. Walk across the spot from the same directions that originally triggered the noise. If movement or sound remains, reassess the source before adding another fastener.
A loose-board repair does not necessarily need to reach a joist. The Squeeeeek No More instructions distinguish fastening a moving hardwood plank from securing a plywood or chipboard subfloor to a joist. Reattaching a moving subfloor to framing is a different repair, requiring a confirmed framing location and an appropriate fastening plan.
Use Only a Hardwood-Rated Breakaway Kit
A hardwood-rated breakaway kit uses scored screws and a matching depth-control fixture so the upper portion breaks off below the surface. It still leaves a hole to patch; it is not an invisible repair.
Follow the instructions supplied with your exact kit. The Squeeeeek No More guide describes different hardwood and softwood fixture positions and break-off methods, and warns against substituting components.
Check that the kit’s required pilot depth and screw penetration are safe for your verified floor assembly before using it. The fixture controls screw placement; it does not establish clearance from concealed utilities.
The guide also states that its long joist-finding screw is not designed to locate joists beneath hardwood. Do not use that tool to probe through the finished boards.
Patch Only After the Repair Holds
Once the repair holds and the squeak is resolved, remove drilling debris and fill the recessed hole with a compatible, color-matched product intended for finished flooring. Keep it localized and follow its cleanup instructions.
Do not sand a broad patch of factory finish merely to disguise one fastener hole. The hardwood filler guide separates cosmetic hole repairs from gaps that continue to move.
If several boards still deflect together, stop adding fasteners and get a flooring professional or carpenter to assess the moving layer. Suspected framing damage or progressive sagging may need structural expertise. Filler conceals a hole; it cannot make an unsound floor secure.