
Which Squeaky Floor Repair Kit Fits Your Hardwood Floor?
Compare hardwood breakaway-screw kits and underfloor brackets, check floor compatibility, and know when fastening is the wrong repair.
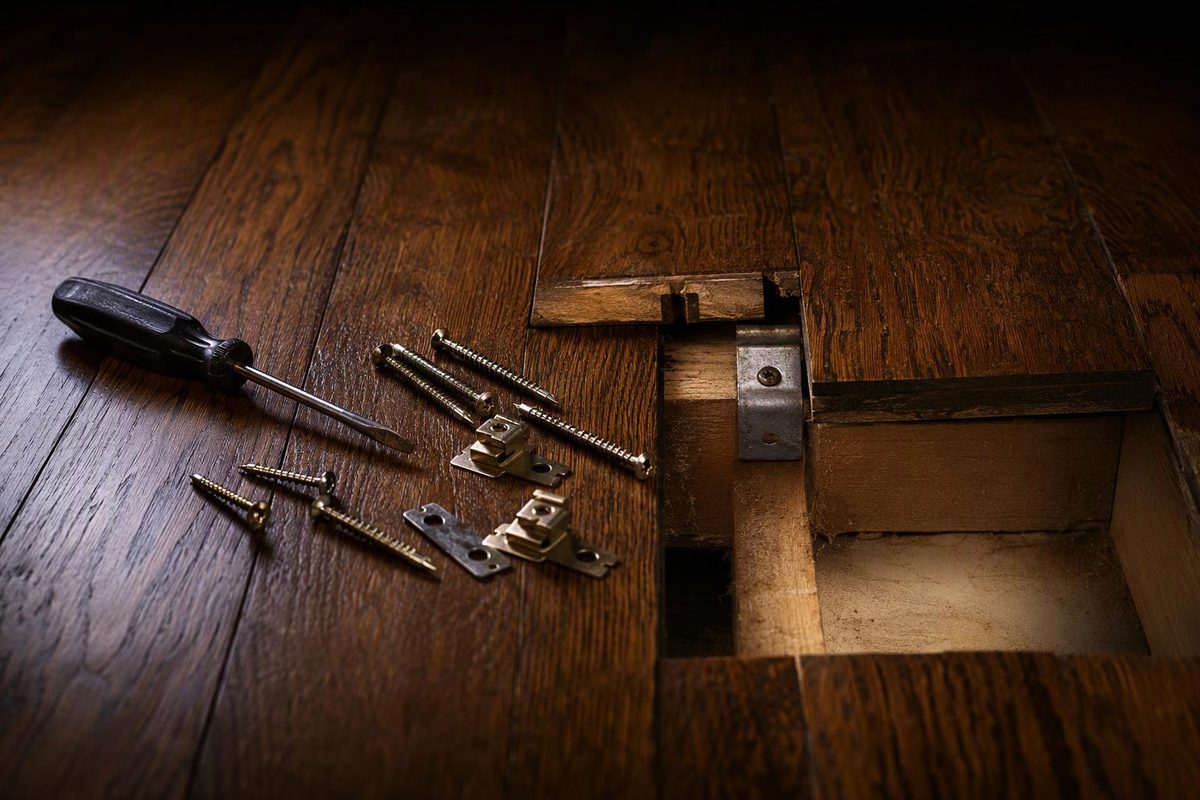
A hardwood breakaway-screw kit is worth considering for a localized squeak caused by a loose board in nailed hardwood over a sound wood subfloor. It is not a universal fix for every floor sold as “hardwood.” Confirm the installation method and moving layer first—especially with engineered flooring.
These kits leave small holes that need touching up. If you can reach the underside of the floor, a repair from below may avoid drilling the finished boards.
Match the kit to the moving layer
Have someone step slowly across the noisy area while you watch the board joints. Note whether one plank moves, several boards dip together, or the noise seems to come from below. If the underside is safely accessible, inspect it while your helper repeats the same step. Sound alone does not establish which connection is loose.
O’Berry’s instructions distinguish two repairs: securing a moving hardwood plank, which need not be directly over a joist, and securing plywood or chipboard subfloor to a joist. They also state that the supplied joist-finding screw is not designed to locate joists through hardwood. Do not copy the carpet procedure onto exposed wood. (O’Berry instructions)
Before buying, establish:
- Installation method: nailed or stapled, glued, or floating—not just solid versus engineered.
- Floor assembly: board thickness, subfloor material and thickness, and the connection the screw must reach.
- Access and hazards: whether you can inspect below, and whether pipes, wiring or radiant-heating components could be in the drilling path.
- Cosmetic tolerance: whether a filled hole is acceptable in that location.
If you cannot identify the moving layer, start with diagnosing a squeaky floor rather than buying a larger box of screws.
The practical kit choices
| Kit type | When to consider it | Main limitation |
|---|---|---|
| Hardwood-only breakaway-screw kit | Localized loose-board movement; repair must be made from above | Requires pilot holes and visible-surface touch-up |
| Multi-surface breakaway-screw kit with hardwood adapter | You also have carpeted areas to repair | The carpet fixture and procedure are not interchangeable with the hardwood setup |
| Underfloor bracket, such as Squeak-Ender | An accessible gap or loose connection between subfloor and joist | Requires access below and does not directly repair every loose finish board |
Hardwood-only versus multi-surface
O’Berry’s Squeeek No More Hardwood Floor Kit, model 3232, includes 50 scored screws, a square-head driver bit, a hardwood adapter and instructions. Its direct-store price was US$15.50 on October 26, 2026. You still need a drill, suitable pilot bits and matching touch-up material. (Manufacturer listing)
The 3233 multi-surface kit includes 50 scored screws, a carpet tripod fixture, a square-head driver bit, two joist-finding tools and a hardwood adapter. O’Berry listed it at US$21.99 on the same date. For an exposed-hardwood-only job, the extra carpet hardware is not, by itself, a reason to choose it. (3233 manufacturer listing; manufacturer store prices)
Buy by model number and included components, not merely a similar product name. A refill screw pack is not a complete kit. O’Berry warns that substituting parts can damage the floor or injure the user. (Kit instructions)
When an underfloor kit makes more sense
A Squeak-Ender bracket uses a plate attached beneath the subfloor and a bracket hooked onto the joist. Tightening its nut draws the subfloor against the joist. That targets a different connection from a loose hardwood plank and avoids top-side holes. (This Old House repair guide)
Floors that should not get a routine screw-kit repair
Do not screw a floating hardwood floor to its subfloor. For example, AHF’s Lock & Fold instructions expressly prohibit attaching or pinching the floating floor to the substrate and require freedom for horizontal movement. Investigate the floor’s support, clearances and joints under its own manufacturer’s guidance instead. (AHF installation instructions)
For glued-down flooring, engineered flooring with an unknown construction, or wood installed over concrete, obtain a product-specific repair method before drilling. The word “hardwood” on a kit does not establish compatibility with those assemblies.
Stop the kit approach if there is water damage, soft flooring, significant bounce or sagging. Those symptoms warrant assessment rather than more fasteners. This Old House identifies water damage and sagging or bouncy floors as reasons to call a professional; suspected framing or support damage may require structural expertise. (Professional-referral guidance)
Use one controlled repair before adding more
Check the kit’s required pilot depth and screw penetration against the verified floor assembly. The fixture controls screw placement; it does not establish clearance from hidden utilities. If you cannot establish a safe drilling and fastening depth, stop and have a flooring professional inspect the area.
Once compatibility and a clear drilling path are confirmed, follow the instructions for the exact fixture supplied. Wear safety glasses, keep grit off the finish and test the setup in a discreet location. O’Berry’s hardwood-adapter instructions start their pilot-bit trial at 1/8 inch and adjust for wood density; that is not a universal specification for every kit or floor.
If the screw reaches the fixture stop but fails to snap, stop driving and follow the removal instructions. Continuing can strip the hole. Retest the squeak after the first fastening before expanding the repair. (O’Berry pilot-bit and fastening instructions)
Fill the small opening with a finish-compatible touch-up material after the fastening works. Filler conceals the hole; it is not the fastening repair. For the full top-side sequence, see repairing squeaky hardwood from above.