
Repair a Crack in a Hardwood Floor: Fill, Monitor, or Replace?
Distinguish a board crack from a seasonal gap, choose a compatible filler, and recognize when movement or a deep split calls for board replacement.
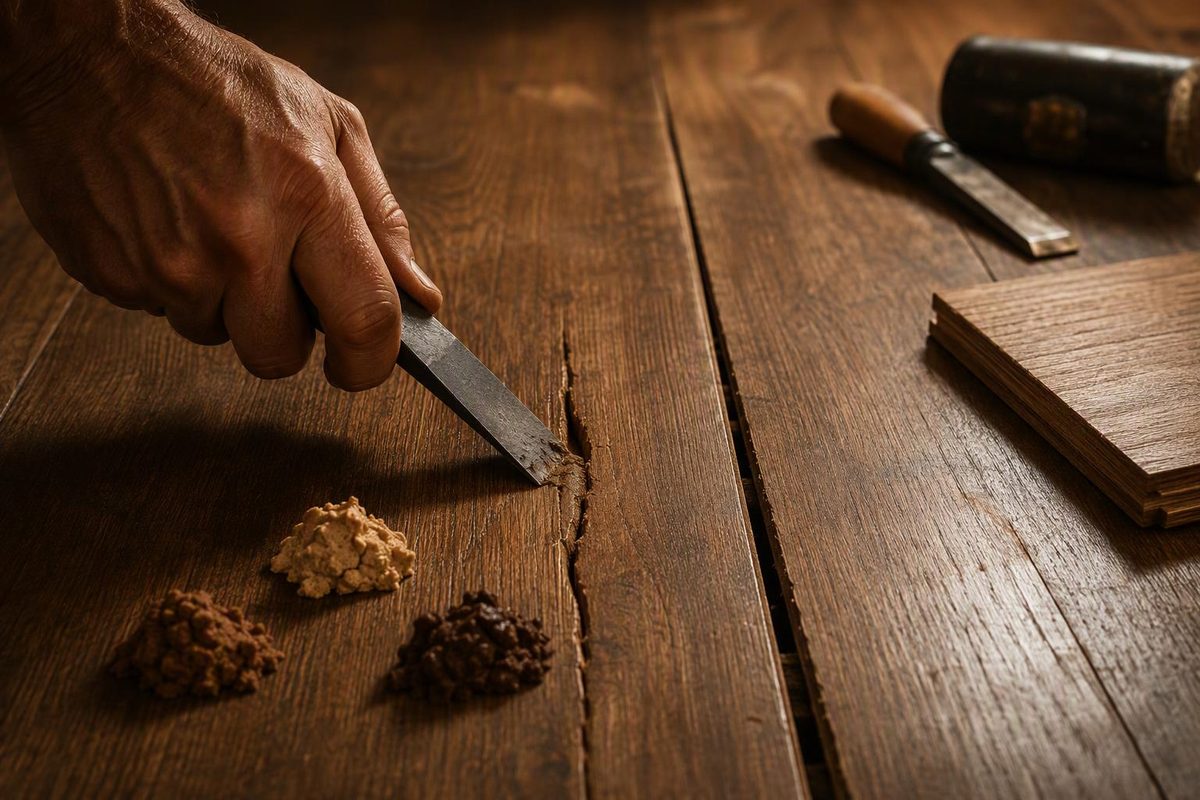
A small, stable surface crack within one sound hardwood board may be suitable for a cosmetic fill. A gap between boards, a loose split, or cracking beside a soft spot needs a different approach. Before buying filler, identify where the opening is and whether the wood moves.
1. Decide what has cracked
Vacuum loose dirt, then examine the line under light shining across the floor. Don’t pry it open to check its depth.
| What you observe | First action |
|---|---|
| A line in the coating, with no visible separation in the wood | Assess the finish; don’t dig out wood for filler. |
| An opening following the joint between two boards | Check for seasonal movement before filling. |
| A narrow surface crack inside one board, with firm, level edges | Consider a localized cosmetic repair after checking stability. |
| A lifted splinter, loose section, deep split, or separating engineered top layer | Keep traffic off the damaged spot and have the board evaluated. |
| Cracking with softness, bounce, sagging, or moisture distortion | Stop cosmetic work and investigate the floor assembly. |
Photograph the opening with a ruler alongside it. Record its length and width at identifiable points, when it appeared, and whether similar openings exist elsewhere. Compare later observations at the same points while the room is kept within the flooring manufacturer’s recommended conditions. Notice whether the edges move under ordinary walking pressure; don’t deliberately load a questionable floor. If you cannot tell whether the crack is shallow or the board is sound, have a wood-floor professional assess it before filling.
An opening at a board joint may be seasonal gapping rather than a broken board. Wood contracts as it loses moisture and expands as it gains moisture; seasonal gaps open and close with humidity changes. Wider boards can develop wider gaps, according to NWFA’s Hardwood Floors magazine.
For joint gaps, record indoor relative humidity and compare it with the flooring manufacturer’s recommended range. Don’t pack a winter gap simply because it is visible. Filler does not solve dimensional movement: a wood-floor inspector describes putty coming loose as surrounding wood shrinks in this maintenance report.
Stop here if there is an active leak, cupping, or suspected dampness below the floor. NWFA says water-damage repair decisions require understanding moisture in the flooring, substrate, and surrounding air—not merely judging the surface. See its repair guidance and our guide to repairing water-damaged hardwood.
2. Match the repair to the existing finish
For an isolated, stable surface crack, the practical choice depends on whether you intend to preserve the finish or refinish the wood.
- Finished floor you want to preserve: Consider a floor-rated hard-wax repair system compatible with the surface. Mohawk’s Hard Fill technical sheet describes hard wax for minor-to-medium defects, including floor repairs, with little or no sanding. It also requires pretesting for suitability.
- Bare wood or a planned sanding-and-refinishing job: Use a compatible sandable wood-floor filler. Bona’s Pacific Filler technical sheet specifies application over bare wood before the final sanding cut—not smearing it across an intact finished floor.
These are cosmetic repairs, not substitutes for a sound board. For other filler types, use our wood-filler guide by repair type.
3. Fill a small, stable crack
If preserving the finish
Gather the system’s recommended cleaner, a clean cloth, matching hard-wax colors and marker, the specified melting tool, and its leveling tool. Read the product and tool safety instructions first, and practice on scrap rather than learning with a hot tool on the floor.
- Clean and prepare only the damaged area. Remove loose debris without widening the crack. Mohawk recommends localized scuff sanding for adhesion, while warning against removing unnecessary color and finish. If you cannot prepare the spot without visibly damaging the surrounding finish, stop and seek a professional touch-up.
- Test the color. Match the surrounding background wood; mix shades if the system permits. Mohawk also specifies pre-coloring the exposed damage with a matching marker to avoid a pale ring around the fill.
- Apply a slight overfill. Follow the system’s melting instructions. For Mohawk Hard Fill, the stick melts onto a burn-in knife and flows into the defect. Keep heat and material confined to the repair.
- Let the fill cool, then level it. Use the designated tool rather than sanding a broad patch. Mohawk’s leveling tool is designed to remove excess wax and level the repair.
- Check appearance in normal room light. Color alone is not enough; sheen matters too. Don’t add a random clear coat. Use only the repair system’s compatible finishing steps.
The preparation, color, and filling sequence follows Mohawk’s instructions. If the opening changes or the fill comes loose, reassess the board rather than repeatedly adding wax.
If refinishing bare wood
Vacuum dust from the crack, work the approved filler into the cavity, and allow it to dry fully before final sanding. Deeper cracks may need repeated applications, but a deep split or loose board needs assessment first. Test the filler with the intended stain and finish: Bona specifically requires a compatibility and color sample in its application instructions.
Don’t begin this route on engineered hardwood until its remaining wear layer and sanding suitability are established.
4. Replace rather than repeatedly disguise a failed board
A deep split with loose edges, a persistent splinter hazard, or a separating top layer warrants professional assessment rather than another surface fill. If cracking accompanies substantial bounce, soft flooring, or new sagging, have the subfloor and supports assessed as well; appearance alone cannot identify hidden damage.
Before any board is cut out, secure and check the replacement. NWFA calls for matching species, grade, cut, dimensions, edge profile, color, and sheen, and checking replacement-board moisture against the existing floor in its board-replacement guidance. Our guide to matching hardwood replacement boards explains the sourcing decisions to make first.