
Engineered Hardwood Installation: Choose the Method, Then Prepare the Floor
Plan engineered hardwood installation around product approval, moisture, subfloor flatness, layout, expansion space and the correct attachment method.
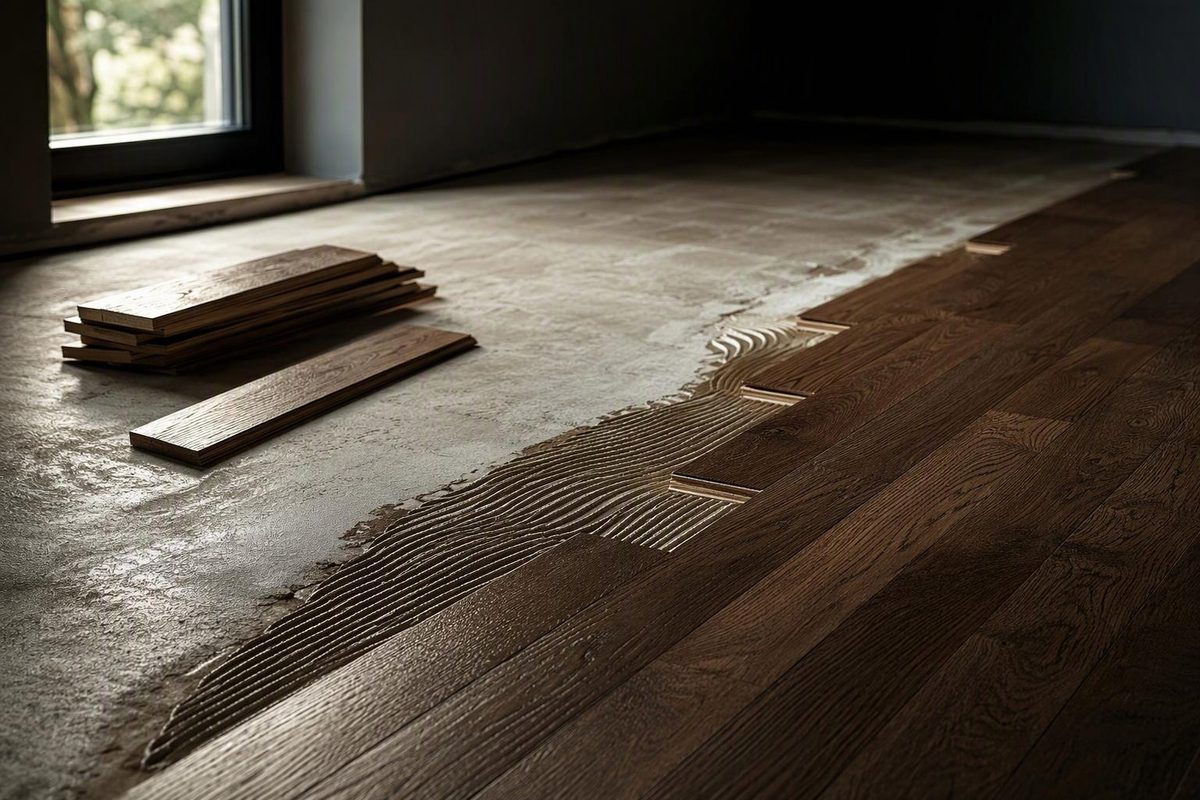
Engineered hardwood may be nailed, glued or floated—but not every product permits every method. Before opening cartons, download the installation instructions for the exact flooring SKU and identify its approved substrates, moisture limits, fasteners or adhesive, underlayment and expansion clearances. The current NWFA Installation Guidelines treat manufacturer instructions as controlling when they differ from general industry guidance.
If the flooring has not been selected yet, compare those installation limits along with wear layer and construction in this guide to choosing an engineered hardwood floor.
Match the method to the product and substrate
| Method | Typical substrate | Main advantage | Main constraint |
|---|---|---|---|
| Nail or staple | Approved plywood or OSB over framing | Firm feel; no full-spread adhesive | Requires adequate panel thickness and fastener-holding capacity; pipes and radiant systems must be located |
| Glue-down | Properly prepared concrete or wood | Firm feel and useful over slabs | Adhesive, moisture-control system and substrate preparation must work together |
| Floating | Approved wood, concrete or certain existing floors | Fewer specialized tools; no attachment to the substrate | Flatness and perimeter movement are critical; fixed cabinets or fasteners cannot pin the floor |
Do not infer approval from the word engineered. One manufacturer’s instructions permit floating only for certain thicknesses, while requiring glue-assist above a stated plank width. That variation is documented in Johnson Hardwood’s engineered-floor instructions. Even floating joints differ: click-lock products generally connect without glue, while some tongue-and-groove floors require adhesive in every joint. Bruce explains that product-level distinction.
Stop if the carton, product page and installation sheet do not clearly agree on the method. Resolve the discrepancy with the manufacturer before buying adhesive, fasteners or underlayment.
1. Stabilize the jobsite before acclimation
The building should be enclosed, wet work should be complete, and the HVAC should be operating at the conditions expected during occupancy. Acclimation is not simply leaving closed cartons in the room for an arbitrary number of days. The objective is for the flooring, substrate and room to reach the conditions required by that product.
Manufacturer rules vary. For example, Somerset allows immediate installation when flooring moisture content already matches expected in-use and subfloor conditions, but calls for further conditioning when readings do not match. Its instructions also require moisture testing rather than relying on slab age or appearance. See Somerset’s engineered installation guidance.
Record room temperature and relative humidity, then map substrate readings instead of taking one convenient measurement. On a wood subfloor, use a calibrated meter appropriate for the material and compare the results with the flooring manufacturer’s permitted moisture-content difference. On concrete, use the test method required by the flooring, adhesive and moisture-control manufacturers. ASTM F2170 in-slab relative-humidity testing and ASTM F1869 calcium-chloride moisture-vapor-emission testing produce different measurements; neither can be replaced by saying a slab “looks dry.”
Stop for an active leak, unexplained high readings, damp crawl space, swollen panels or musty areas. A vapor retarder is not a repair for an unresolved water source. For a detailed sequence, use the engineered hardwood subfloor readiness check.
2. Check structure, fastening and flatness
Remove loose debris and inspect the entire substrate. Mark squeaks, moving seams, proud fasteners, damaged panels, low areas and ridges. Engineered flooring is a finish layer; it does not correct a weak or moving floor system.
On wood framing, verify the panel type and thickness, joist spacing and the direction of both the panels and finish flooring. Thin engineered products, parallel-to-joist layouts and nonstandard plank subfloors may require another structural panel layer. Particleboard generally cannot hold flooring fasteners reliably, although a manufacturer may approve it beneath a floating floor. The NWFA wood-subfloor guidance calls for movement, objectionable noise, water damage and delamination to be addressed before covering the floor.
Flat does not mean level. A sloped but planar floor may accept flooring; a nominally level floor with short humps and hollows may not. Check with a long straightedge, string line or laser in several directions. Use the exact tolerance in the flooring instructions. As one product-specific example—not a universal specification—Somerset requires glue-down and floating substrates to be within 1/8 inch over 6 feet or 3/16 inch over 10 feet.
Use correction materials approved for the substrate and installation system. A patch or leveler beneath a glue-down floor must be compatible with the primer, moisture-control system and adhesive. Sand only materials known to be safe to disturb.
3. Dry-lay the room before fastening anything
- Choose the run direction. Appearance matters, but a nail-down floor’s relationship to the joists and subfloor construction may control the decision.
- Measure the room at several points. Adjust the first-row width so the last row is not an impractical sliver.
- Plan transitions. Confirm finished height at doors, tile, carpet, stairs, vents and appliances. Long floating runs or narrow doorways may require movement joints and transition moldings according to the product instructions.
- Blend cartons. Rack boards from multiple cartons to distribute color, character and lengths. Inspect each board in good light before installing it.
- Mark a straight working line. Do not use an irregular wall as the sole reference.
Also locate floor wiring, plumbing and radiant-heat components before driving fasteners. Confirm that the flooring is approved for the particular radiant system and its operating-temperature limits.
4. Install without defeating the system
For nail- or staple-down flooring, use the exact fastener type, gauge, length, angle, spacing and compressor pressure specified. A fastener that is too deep can fracture the tongue; one left proud can prevent the next board from seating. Face-fasten only where the approved sequence requires it near walls or obstructions.
For glue-down flooring, use the specified trowel notch and observe the adhesive’s open time, working time and coverage requirements. Spread only an area that can be placed on time. Keep adhesive out of joints unless the instructions require it, and use the manufacturer-approved cleaner immediately on prefinished faces. Periodically lift a board while working to verify adhesive transfer.
For a floating floor, install the approved underlayment and seam treatment. Join planks by the specified click-lock or edge-glue procedure. The finished field must remain free to move: do not fasten base shoe through it or trap it beneath cabinets, islands or other fixed work. Somerset’s instructions specifically require floating floors to remain unpinned and call for transitions where its stated room dimensions or doorway conditions are exceeded.
Maintain the product’s required clearance at every wall, pipe, jamb, hearth and other vertical obstruction. Do not substitute a familiar “standard” gap; required clearance can change with product, room span and climate. Undercut door casings so the flooring can slide beneath while retaining hidden movement space.
5. Inspect before installing trim
Pause after the first few rows. Check that the floor remains on the working line, joints close fully, end-joint spacing looks random, boards are not damaged and adhesive or fasteners are behaving as intended. Correct a developing error while disassembly is still practical.
At completion, attach baseboard or shoe molding to the wall—not the floating floor—and keep transitions free of the flooring field where movement is required. Follow adhesive cure times before traffic, rolling loads, rugs or protective coverings. Save spare boards, carton labels, moisture records and the installation instructions together; they are useful if a damaged board later needs replacement.