
Floor Sanding Grit Sequence: Start Coarse Enough, Then Remove the Scratches
Compare 36–60–80 and 40–60–100 floor sanding sequences, choose a starting grit, match the edges, and know when to stop before staining.
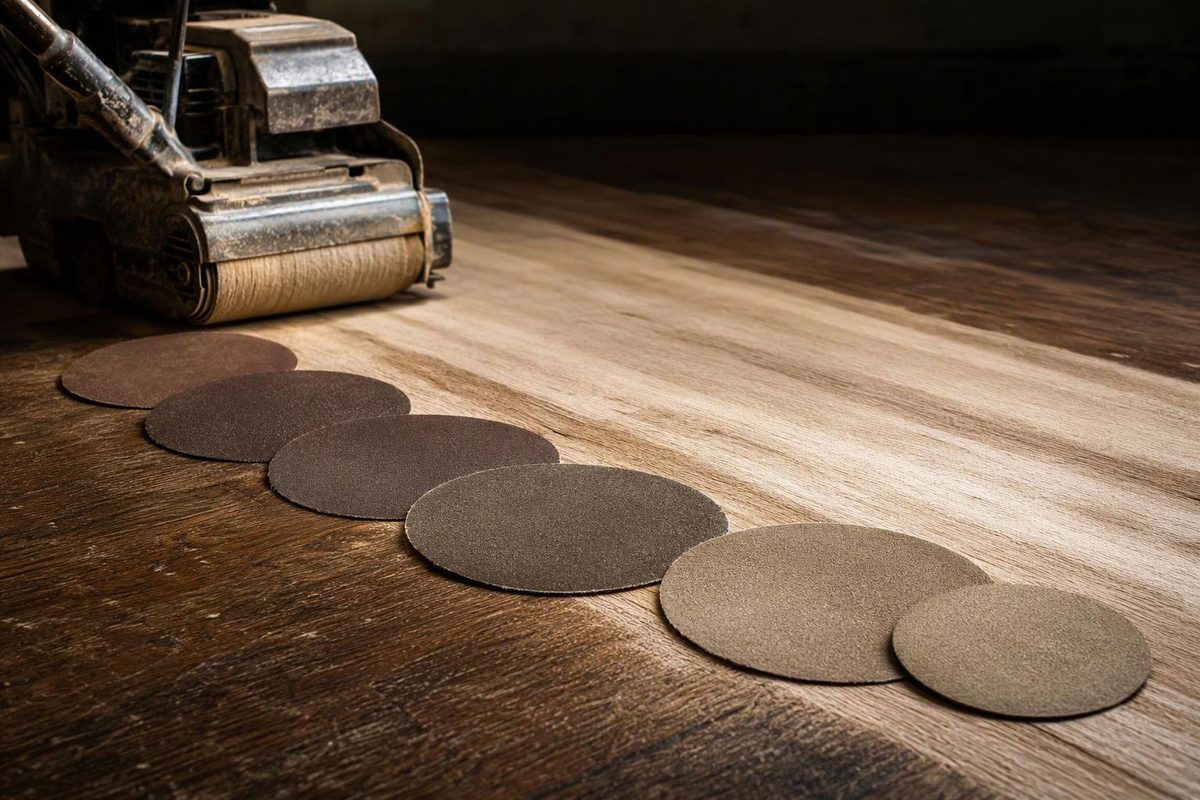
Two documented floor sanding grit sequences are 36 → 60 → 80 and 40 → 60 → 100. Neither is a recipe for every floor. The first grit must remove the old coating without unnecessary wood loss. Each finer grit then removes the scratches left by the previous cut—not the finish you failed to remove earlier. Pete’s Hardwood Floors describes the first sequence; Bona’s sanding guide recommends the second as a typical procedure.
Lower grit numbers mean coarser abrasives. Choose the starting grit from the floor’s condition and the final grit from the stain or finish instructions. The examples below are for ordinary strip or plank floors; patterned and end-grain floors need a layout-specific sanding plan.
First, confirm that sanding is the right repair
Do not use a coarse sanding pass to diagnose a raised, moving or water-damaged floor. Cupped boards need moisture investigation first. The NWFA’s 2016 sand-and-finish guidelines say not to sand cupped flooring until the moisture problem is corrected and flooring and subfloor moisture have stabilized and equalized. They also call for checking the remaining wear layer in several areas and following the flooring manufacturer’s refinishing recommendations. NWFA guidelines
Before renting equipment, establish:
- Floor construction: solid hardwood or engineered wood, and how much sandable wood remains. Overall board thickness is not the same as usable wear-layer thickness. Stop if you cannot establish that the floor can be sanded safely.
- Condition: whether boards are secure and the problem is surface wear rather than unresolved moisture or movement.
- Coating history: old paint, finishes and adhesives may require hazardous-material assessment before disturbance. Do not sand suspected lead- or asbestos-containing material. Wood Floor Business
If the finish is intact and the goal is simply to restore protection or sheen, check whether a screen and recoat is appropriate instead of removing wood.
Choose a sequence, then test the first grit
These are documented examples—not interchangeable specifications for every machine, abrasive and wood species.
| Situation | Example grit sequence | Decision point |
|---|---|---|
| Existing floor that a 36-grit test cleans successfully | 36 → 60 → 80 | Proceed only if the first cut leaves the test area bare and clean. |
| Floor suited to Bona’s general sanding procedure | 40 → 60 → 100 | The 40-grit cut must remove the old coating before finer sanding. |
| Floor needing a coarser start under Pete’s rental-sander procedure | 24 → 36 → 60 → 80 | Use 24 only when testing establishes the need; retain the intermediate cuts. |
Sources: Pete’s grit-selection guide and Bona’s sanding procedure. Pete’s specifies 100 grit for birch, maple and floors that will be stained, so its 80-grit endpoint is not universal.
Use the finest starting grit that actually does the removal work. For a floor thought to be in reasonably good condition, Pete’s recommends testing 36 grit on a roughly 4-by-4-foot area in poor condition, then inspecting it before committing to the room. If finish remains at board edges or centers, the basic sequence has not yet been validated. Pete’s testing instructions
Do not switch to fine paper because the coarse cut is taking longer than expected. Stop and assess the abrasive, equipment and coating. Factory-applied high-abrasion finishes can require a different approach from an ordinary site-applied coating. NWFA’s 2016 guidance
Complete each stage across the floor and edges
Read the exact machine manual before starting. Use appropriate eye, hearing and respiratory protection, disconnect power before changing abrasives, and plan safe dust handling: sanding dust is a fire hazard, not just a cleanup problem. Wood Floor Business safety guidance
- Remove the coating with the starting grit. Inspect the surface, including the perimeter. Keep the drum moving whenever it contacts the wood; lift it before stopping. For handling and dust-safety details, see sanding floors with a drum sander.
- Vacuum, then make the intermediate cut. Its job is to erase the coarse scratches. If those scratches remain, correct that stage before advancing.
- Progress the edger too. Do not take the center through several grits while leaving coarse scratches around the walls. Overlap and blend the edge-sanded area into the main floor. In the basic sequences above, match the final edger grit to the final drum-sander grit.
- Finish corners and blend machine marks. Scrape inaccessible areas, then hand-sand with the grain. Examine edger swirls and overlap marks before final surface preparation.
Vacuuming between cuts, progressive edging and final blending are covered in the NWFA’s 2016 guidelines. Inconsistent preparation at the perimeter can produce a differently colored border after staining—often called “picture framing.” Wood Floor Business
Stop at the grit your finish system requires
Do not add finer passes simply because smoother feels better. Bona’s general procedure ends drum sanding at 100 grit, but adds a separate fine-sanding step for oil or hard-wax oil. That illustrates why the coating system matters; it is not a universal final-grit rule. Bona’s final-sanding instructions
Before staining, vacuum and inspect under low-angle light for coarse scratches, swirls, residual coating and inconsistent edges. Do not coat over a visible sanding defect hoping the finish will hide it.
Test the intended stain, sealer and topcoat on representative wood prepared with the same sanding sequence. The complete system affects the final appearance, and differences in final abrasion can change stain color. Bona’s jobsite-sampling guidance
Sanding between finish coats is a separate operation on the coating, not another step in the bare-wood grit sequence. Follow that finish manufacturer’s abrasion and cleaning instructions.