
Installing Acacia Hardwood: Check Moisture, Blend Boards and Test the Nailer
Plan an acacia hardwood installation around moisture readings, mixed-board layout, approved cleats and a test board that reveals tongue or finish damage.
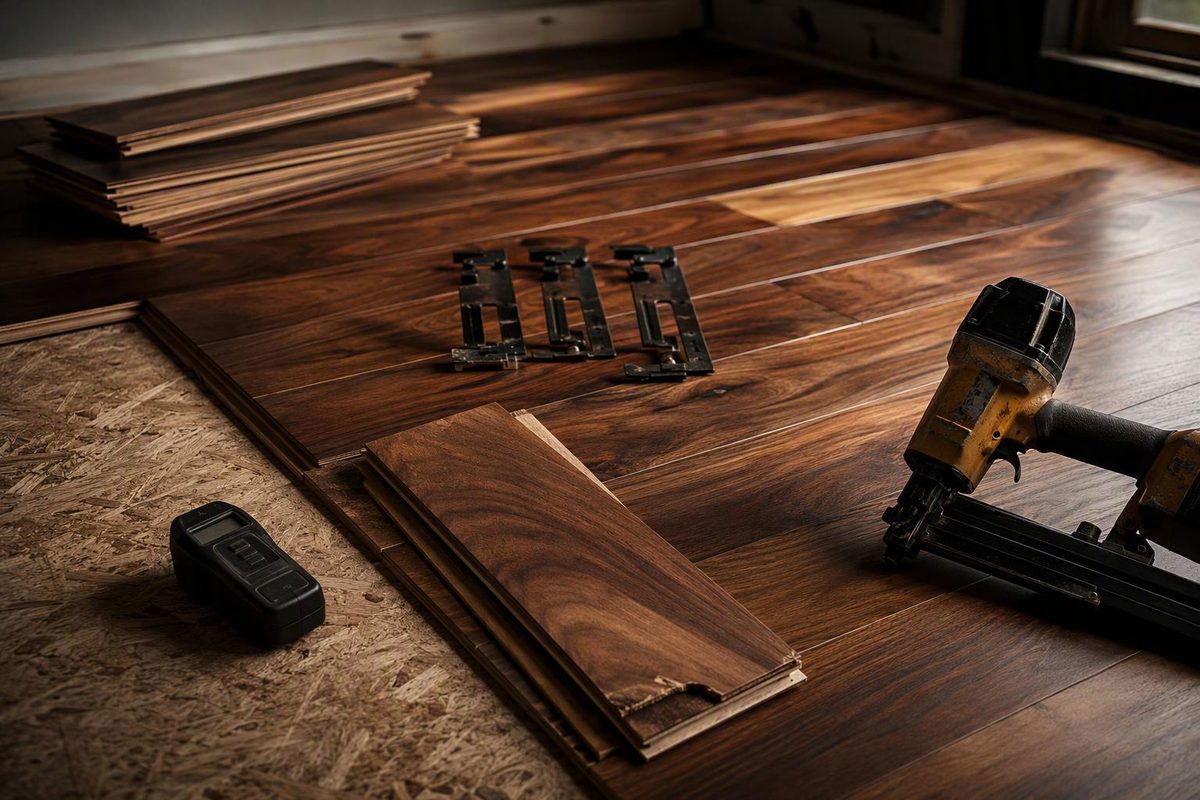
Installing acacia hardwood calls for more than choosing a nailer by board thickness. The practical concerns are fastening dense wood without breaking the tongues, blending the boards’ pronounced color variation, and confirming moisture readiness before fastening anything.
For example, L.W. Mountain requires flooring cleats—not staples—for its acacia floors, because staples can break tongues on harder species. That is a product-specific requirement, not a universal fastener specification for everything sold as acacia. Start with the instructions for your exact flooring. L.W. Mountain solid-wood installation instructions
The sequence below focuses on prefinished solid, tongue-and-groove acacia nailed to an approved wood subfloor. Acacia also comes in engineered products; for those, use the product’s approved method and our engineered-hardwood installation guide.
1. Confirm the floor assembly before buying fasteners
Record the flooring’s brand, product number, thickness, width and joint profile. Then check its installation instructions for:
- Approved subfloor material and thickness.
- Cleat type, gauge, length and spacing.
- Expansion space and end-joint stagger.
- Moisture limits, acclimation procedure and any glue-assist requirement.
- Restrictions on below-grade rooms or radiant heat.
Do not assume solid acacia can be glued directly to concrete or installed in a basement. L.W. Mountain’s solid instructions exclude below-grade installation and radiant heat, and do not recommend gluing solid wood to concrete. Another product needs its own approval. Manufacturer requirements
Before covering the subfloor, locate loose panels, squeaks, damaged areas and departures from the required flatness. Repair those first. If the floor has unexplained sagging, soft areas or persistent dampness, stop: new acacia is a finish layer, not a repair for the assembly beneath it.
2. Acclimate by readings, not a three-day assumption
Complete wet work and establish normal occupied conditions before bringing in the flooring. Follow the carton-handling instructions: opening and spreading every board is not always the prescribed procedure. L.W. Mountain, for instance, instructs installers to keep its solid flooring in the cartons during acclimation.
Measure and record moisture in both the flooring and wood subfloor. A small difference between them is not enough: each must also meet the applicable moisture requirements. L.W. Mountain specifies wood-subfloor moisture content of 6–12%, depending on the area, and requires the flooring to reach moisture content consistent with the job site and normal living conditions. Its maximum difference is 2 percentage points for solid boards 3 inches wide or wider, versus 4 points for narrower strip flooring. Acclimation is a measurement of moisture levels, not simply elapsed time. Acclimation and moisture requirements
Check your moisture meter’s species correction or density setting rather than leaving it on an oak default. Use the appropriate setting for the subfloor material too. If the flooring’s species is not listed, ask the meter manufacturer which setting to use. Wagner’s Orion documentation explains that species settings account for wood density and provides resources for unlisted species, plus separate settings for plywood and OSB. Wagner species-setting guidance
Stop if readings remain outside your product’s required range. Extra time beside a wet subfloor does not correct the moisture source. For previously flooded panels, use the subfloor drying and damage check before proceeding.
3. Rack the boards before committing to rows
Acacia’s strong grain and color contrast make board selection conspicuous. Lumber Liquidators describes its acacia offerings as having dramatic grain and mixed golden, brown and reddish tones. Acacia flooring characteristics
Loose-lay several rows using boards from multiple cartons. Distribute light and dark pieces across the area rather than installing one carton at a time. If your batch contains many short boards, spread those through the layout too; do not leave them all for the end.
Check the view from the doorway before fastening. Reserve suitable cut pieces for row ends, and keep visibly defective boards out of the installation. Maintain the required end-joint offset and avoid repeating stair-step or H-joint patterns. L.W. Mountain’s rule of thumb is at least twice the board width between adjacent-row end joints, as the product allows. Layout instructions
4. Test the cleat-and-nailer combination
Do this before fastening the starting rows:
- Fit the recommended shoe or adapter to the flooring profile.
- Load the approved flooring cleat and set pressure within the tool’s operating limits.
- Fasten a sacrificial board to the intended subfloor.
- Inspect the tongue and finished face in strong light.
- Remove the test board and check for cracking and correct fastener seating.
Look for split tongues, raised fastener heads and dimples along the finished edge. Do not continue with a setting that damages boards. L.W. Mountain calls for this sacrificial-board test and advises lowering pressure if tongue damage occurs; persistent damage may require pre-drilling and hand nailing. Nailer test procedure
An 18-gauge flooring-cleat system can be an option for dense flooring, but it is not automatically the right choice for your acacia. Powernail describes thinner 18-gauge cleats for compatible engineered and exotic flooring, including some 3/4-inch products. Confirm both flooring approval and tool compatibility before renting or buying. Powernail tool-selection guidance
5. Establish the first row, then fasten the field
Install the specified vapor retarder over the prepared wood subfloor. Snap a straight working line that accounts for the board width and required expansion space; do not use a crooked wall as the alignment guide. For a single-layer wood subfloor, L.W. Mountain directs solid flooring perpendicular to the joists or on a diagonal.
Choose straight boards for the starting row, with the tongue facing into the room. Secure the first rows using the product’s prescribed method until there is room for the flooring nailer. Dense acacia may need pilot holes for hand fastening. Blind-nail through the tongue, checking alignment and seating as you go.
As a manufacturer-specific example, L.W. Mountain calls for 1-3/4- to 2-inch fasteners for its 3/4-inch solid wood, approximately 2 inches from board ends and every 6–8 inches between them, with a 3/4-inch expansion gap around walls and vertical obstructions. Do not transfer that schedule to a different product without checking its instructions. Starting-row and fastening specifications
Do not pound a stubborn board into place and then nail through the problem. Check for debris, damaged joints or a distorted board; force can damage prefinished edges.
6. Finish without trapping the floor
Rip the final row to fit while preserving the expansion gap. Where the nailer no longer fits, use the approved hand-fastening or adhesive method. L.W. Mountain does not recommend top-nailing its prefinished flooring for appearance reasons, so a generic instruction to face-nail every last row is not interchangeable with its procedure.
Attach moldings to the wall or subfloor, not to the hardwood. Clean with an approved hardwood-floor cleaner, and retain spare matching boards plus the moisture records and product instructions. Final-row and trim requirements