
Insulate the Floor or the Crawl-Space Walls? Decide Before You Start
Choose the thermal boundary, fix moisture first, then air-seal and insulate below a subfloor without gaps, compression or trapped dampness.
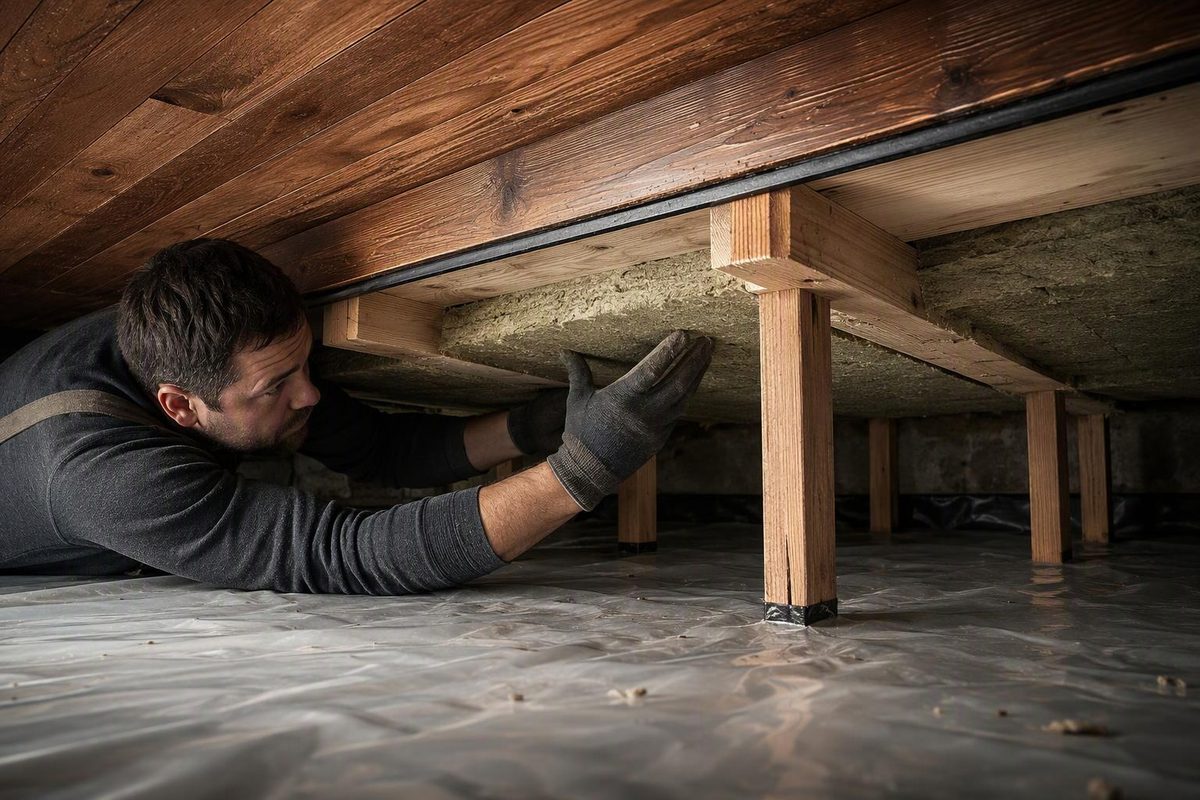
To insulate a subfloor from below, first decide whether the floor or the foundation walls should form the home’s thermal boundary. Then correct water and wood damage, air-seal that boundary, and install insulation in continuous contact with it.
That decision matters more than the choice between fiberglass and spray foam. Insulating between joists is appropriate over a vented crawl space, an open foundation or a basement intended to remain unconditioned. In a properly enclosed crawl space, the usual approach is to insulate the perimeter walls instead and leave the subfloor uninsulated.
Choose the assembly before buying insulation
Use the conditions below as a starting point:
| Space below the floor | Usual thermal boundary | Typical approach |
|---|---|---|
| Vented crawl space | Subfloor | Air-seal the subfloor and rim; insulate between joists |
| Open pier foundation or room over a porch | Subfloor | Insulate joist cavities and add a durable protective underside |
| Unconditioned basement | Subfloor, sometimes | Insulate below the floor only if the basement is intended to remain outside the conditioned space |
| Enclosed, conditioned crawl space | Foundation walls and rim | Seal the ground, insulate the perimeter and provide code-required drying or conditioning |
| Conditioned basement | Foundation walls and rim | Keep the basement inside the thermal envelope rather than isolating it at the ceiling |
DOE building guidance describes wall insulation as best practice for crawl spaces and basements in many circumstances, particularly when ducts, HVAC equipment or water lines are below the floor. A floor assembly can still be reasonable when the area will remain unconditioned and services can be protected (Building America Solution Center).
Do not simply close crawl-space vents and add wall foam. The model 2024 IRC requires an unvented under-floor space to have a continuous, sealed Class I ground vapor retarder plus an approved method of exhaust, conditioned-air supply, dehumidification or another listed option. The code adopted in your jurisdiction may differ, so confirm local requirements before converting the space (2024 IRC R408.3). Our guide to a conditioned crawl space covers that larger conversion.
Stop if the floor is wet, soft or structurally damaged
Insulation does not repair a plumbing leak, bulk-water entry, fungal decay, insect damage or an undersized floor system. Before covering the joists, inspect the subfloor, joist ends, rim joist, sill and visible plumbing.
Pause the insulation work if you find:
- active dripping, standing water or wet soil;
- stained wood that is still damp;
- soft, crumbling or visibly decayed subfloor or framing;
- sagging, split or displaced framing;
- extensive insect galleries or mud tubes; or
- mold growth whose source and extent are unclear.
Correct the moisture source and determine whether damaged wood needs repair. Insulation can obscure the area and make later inspection harder. See wood rot in a crawl space when deterioration may have reduced the floor’s capacity.
A ground cover can reduce moisture entering from crawl-space soil; it does not correct rainwater, groundwater or plumbing leaks. Nor is it the same thing as a vapor-retarder facing attached to insulation. Placement of vapor-control layers depends on climate, materials and whether the crawl space is vented or enclosed. Avoid adding polyethylene directly beneath the wood just because the term “vapor barrier” appears on an insulation label. Start with the assembly-specific guidance in where a subfloor vapor barrier actually goes.
How to insulate beneath a subfloor
1. Set the required R-value and check clearances
Use the locally adopted energy code and permit requirements—not joist depth alone—to select the insulation level. Check the insulation manufacturer’s instructions as well. Plan around plumbing, ducts, recessed fixtures, flues and electrical equipment; do not cover junction boxes or violate required clearances.
If there is too little cavity depth for the target R-value, a continuous layer of rigid insulation below the joists may be possible, but it changes fastening, fire protection, termite inspection and access details. Treat that as a designed assembly rather than an improvised second layer.
2. Air-seal the subfloor and rim
When the floor is the thermal boundary, plywood or OSB usually serves as its air barrier. Seal accessible panel joints, penetrations around pipes and wiring, duct boots, and gaps where the subfloor meets the perimeter. Large openings need rigid blocking secured and sealed at the edges; fiberglass is not an air barrier.
Also seal and insulate the rim or band joist. ENERGY STAR identifies the sill, rim, windows, service penetrations and exterior access as common leakage locations. It also cautions that tightening a home can affect radon, ventilation and the drafting of fuel-burning appliances, so testing may be warranted before and after substantial air sealing (ENERGY STAR).
3. Fit insulation tightly against the subfloor
For fiberglass or mineral-wool batts:
- Use a width made for the joist spacing.
- Push each batt into full contact with the underside of the subfloor.
- Cut it to fit around obstructions rather than bunching or compressing it.
- Fill the full cavity length without gaps or voids.
- Split the batt around wiring where permitted instead of forcing all the material to one side.
- Follow the manufacturer’s and local code’s instructions for any facing; do not guess its direction.
Metal stays or another durable support should hold batts up permanently without squeezing them. DOE guidance emphasizes that insulation must remain aligned with the subfloor air barrier; gaps and compression reduce performance (Building Science Education).
Blown insulation can work behind properly installed netting. Spray foam can combine insulation and air control, but thickness, substrate moisture, access to wiring and pipes, and fire protection all need to be resolved before application. Use product-specific instructions and code approval rather than assuming every foam installation can remain exposed.
4. Protect an exposed underside
An open foundation, porch ceiling or pest-prone crawl space exposes insulation to wind, animals and physical damage. A rigid underside panel can protect the assembly, but it must be detailed so the water, air, vapor and thermal control layers remain continuous. DOE retrofit guidance describes rigid foam below insulated framing with taped seams and a protective cement-board, plywood or equivalent finish for exposed overhangs (Building America Solution Center).
Foam plastic also has fire-protection requirements. The model 2021 IRC allows specified ignition-barrier materials in qualifying crawl spaces only when several conditions are met; local amendments may differ (2021 IRC R316.5.4). Maintain any locally required termite inspection strip rather than covering the top of the foundation indiscriminately.
Inspect the finished work
Before closing the underside, verify that:
- the subfloor and framing are dry and sound;
- air-sealing is continuous at penetrations and perimeter joints;
- insulation touches the subfloor throughout;
- no batt is folded, crushed, hanging or missing;
- pipes and ducts have the intended freeze and condensation protection;
- electrical boxes, shutoffs and cleanouts remain accessible;
- foam has the required ignition or thermal protection; and
- exposed insulation has durable support and pest protection.
A cold floor can improve only when the thermal and air boundaries line up. If the floor remains cold after careful installation, investigate bypasses at the rim, open joist bays, duct leakage and crawl-space moisture rather than adding another disconnected layer of insulation.