
Before You Sand a 1930s Cottage’s Pine Floor
Assess a 1930s cottage’s pine floor for originality, condition and finish options before removing the patina or replacing sound boards.
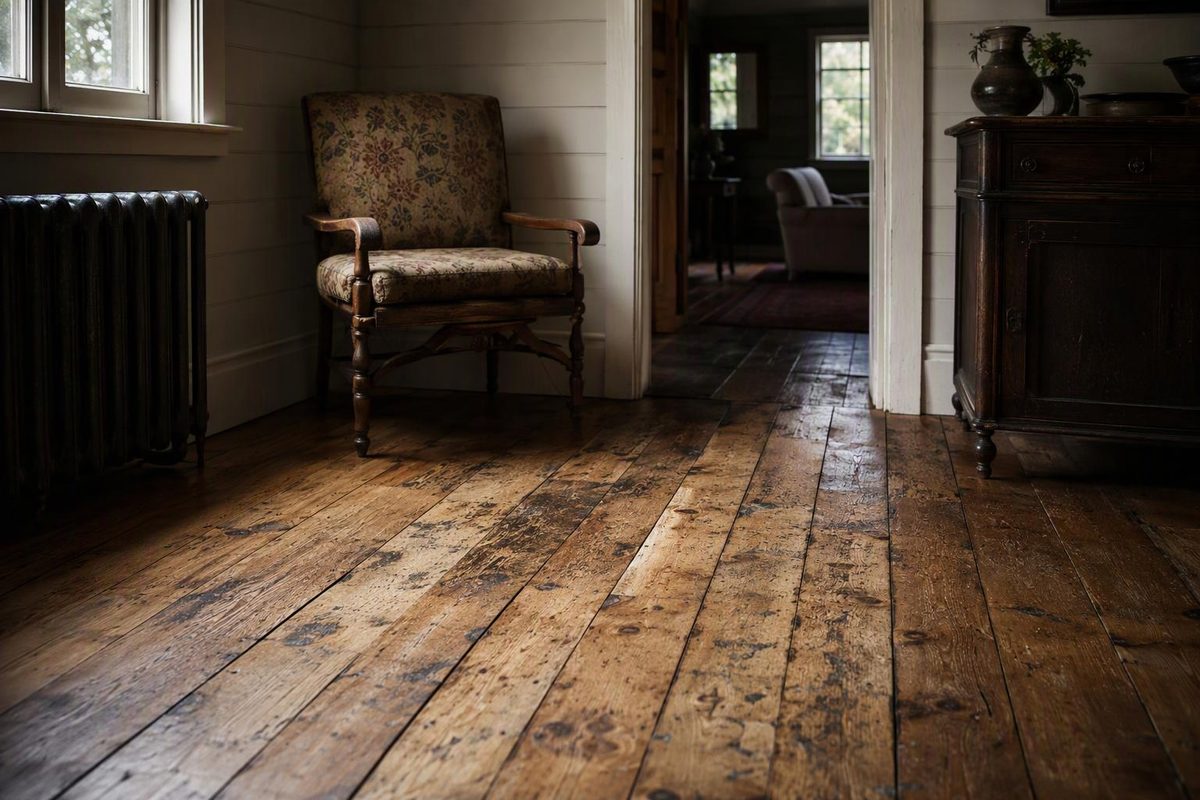
A pine floor in a 1930s cottage can be worth keeping—even if it is dented, patchy or previously covered. The useful distinction is between sound timber with an aged surface and boards that have lost strength. Before booking sanding, establish what the boards are, how they form the floor and how much of their existing character you want to retain.
The cottage’s construction date alone does not prove that the boards are original, identify the pine species or tell you whether they were intended to remain exposed.
Read the floor’s history before changing its appearance
Look for evidence rather than relying on the orange colour or the presence of knots:
- A dark perimeter with a lighter centre: this can indicate a former rug or floor covering, not simply uneven wear.
- Short inserts and saw cuts: these may record access for plumbing or wiring rather than failure of the whole floor.
- Changes in width, grain or fastening: these are useful places to investigate possible replacements.
- An exposed edge at an existing opening: this may show the board profile and whether another flooring layer lies underneath. Do not lift sound boards merely to satisfy curiosity.
Regional history matters. In British houses, pine boards were often stained or polished around a carpet or rug; a conservation history also records linoleum as a popular interwar material. That makes a partly finished floor plausible, but it does not establish how your particular cottage was decorated. Building Conservation’s timber-floor history recommends assessing the building, floor location and construction together when judging originality.
Previously covered does not mean worthless, and newly exposed does not mean historically accurate. Keeping a rug or reinstating an appropriate covering can be as legitimate a choice as showing every board.
“Old pine” is not a single grade of flooring
Do not buy replacements on the assumption that every 1930s floor is “heart pine” or exceptionally hard old-growth timber. Pine species vary substantially in density and strength; some species cannot reliably be distinguished from one another even by close examination. The Wood Database’s pine guide explains the differences between soft and hard pine groups.
For a patch, record the actual board width, thickness and edge profile before discussing species and colour. A supplier’s “period pine” label is not enough. The separate guide to matching replacement floorboards covers the sourcing checks.
Also set realistic expectations: a protective coating does not make the wood dent-proof. Historic Scotland’s timber-floor guidance notes that concentrated impacts can damage both the finish and the timber beneath it. Chair-leg protection and sensible use matter even after refinishing. Historic Scotland: Timber Floors
Check whether the boards are also the structural floor
Do not assume there is plywood beneath them. Historic Scotland describes traditional floorboards laid directly across joists, with the joists integral to the floor’s strength. Establish your cottage’s actual assembly through existing access or a professional inspection before removing boards or planning an overlay. Historic Scotland’s construction guidance
Pause cosmetic work if boards are soft, badly thinned or broken, or if the floor has unexplained sagging. Cupped boards also need moisture investigation before sanding: removing their raised edges while damp can leave the wrong shape when they dry. Building Conservation explains this failure sequence.
Check old coverings and paint before disturbing them
If exposing the boards involves disturbing suspect old resilient flooring or backing, stop for an asbestos assessment. Appearance cannot establish whether asbestos is present, and the EPA specifically warns against sanding asbestos flooring or its backing. EPA homeowner guidance
If old paint remains on the boards, have it assessed for lead before sanding or stripping. In the United States, EPA recommends professional lead testing of surfaces being renovated in pre-1978 homes and warns that renovation can create dangerous lead dust. Use the appropriate local assessment and lead-safe work requirements wherever the cottage is located. EPA lead-safe renovation guidance
Choose a preservation target—not just a stain colour
For sound cottage pine, decide which result you actually want:
| Target | What to request |
|---|---|
| Retain the aged surface | Compatible cleaning and localized repairs first; avoid automatic whole-floor sanding. |
| Refresh an intact finish | Identify the coating and contamination, then assess whether a compatible recoat is possible. |
| Expose lighter timber | Assess remaining board thickness and accept that sanding removes patina as well as finish. |
Conservation specialist Jasper Weldon cautions that sanding destroys the patina developed through years of use. Historic Scotland also warns that over-sanding can substantially thin boards. Neither means sanding is always wrong; it means a uniformly new-looking surface has a material cost. Conservation advice and Historic Scotland’s sanding guidance support a restrained approach.
Before staining bare pine, test the proposed stain and final topcoat on representative timber, including any repair. Minwax warns that pine absorbs darker stains unevenly, especially around knots and blemishes; follow the chosen floor-finishing system’s preparation instructions rather than improvising a conditioner. Minwax’s pine-staining guidance
A useful contractor brief is: retain sound original boards, identify moisture or support problems, assess sanding thickness, and approve a complete finish sample before treating the room. That protects the cottage floor’s character without treating unsafe damage as something to preserve.