
Choose and Apply the Right Subfloor Adhesive
Learn which subfloor adhesive markings matter, how site conditions change the choice, and why correct gaps and fasteners still control the assembly.
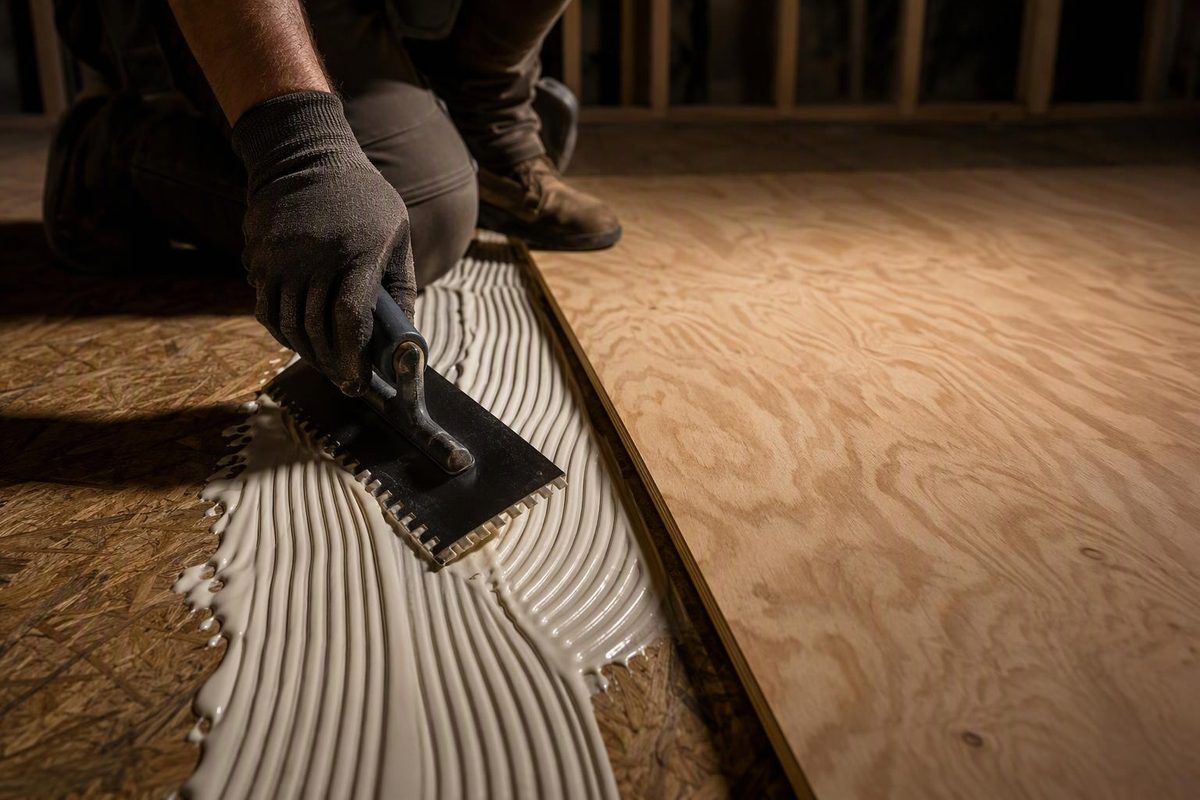
For plywood or OSB over wood framing, buy an adhesive explicitly labeled for subfloor or floor-system construction and approved for the panel, framing and jobsite conditions. Look first for ASTM D3498; APA AFG-01 may also appear. Use the adhesive with the required fasteners, not as their replacement.
Select what the label and job require; the checker gives you a buying verdict.
Subfloor Adhesive Label Checker
Match the proposed use, listed standard and jobsite condition.
The label covers subfloor work, lists ASTM D3498 and permits the selected site condition. Follow its bead, working-time and preparation instructions, then use the full required fastener schedule.
Sources: ASTM D3498, APA floor-system guidance and the manufacturer documentation cited in the article. This checker does not replace the product instructions or project fastening schedule.
Buy by Standard, Substrate, and Conditions
Do not choose by descriptions such as “heavy duty” or “all purpose” alone. ASTM D3498 covers minimum strength, durability and gap-filling performance for adhesives used to bond plywood or OSB to wood floor framing, including dimensional lumber and wood I-joists.
It is a performance standard, not an application specification. The selected product’s instructions still control bead size, working time, application temperature and surface preparation (ASTM International).
Read both the technical data sheet and the cartridge or container before purchasing. Confirm these five points:
- Intended use: The documentation says subfloor, floor systems or wood structural panels bonded to framing.
- Performance standard: It meets ASTM D3498 or APA AFG-01.
- Material compatibility: It covers the actual combination, such as plywood or OSB over dimensional lumber, an I-joist flange, an open-web truss or other specified framing.
- Jobsite conditions: Its application-temperature range and permitted surface conditions match the site. Wet lumber, frozen lumber and pressure-treated wood require express approval.
- Application requirements: You have the specified cartridge gun, foam applicator or other dispenser, plus any required cleaner and personal protection.
Chemistry is secondary to those checks. Cartridge products and polyurethane foam-to-gel systems can both be suitable, but their limits differ.
Huber lists an application range of 35°F–105°F for AdvanTech Subfloor Adhesive and says it bonds to wet or frozen wood. Loctite says PL 400 can be gunned from 1.4°F–120°F and bonds to wet or frozen lumber. Those are product-specific claims, not temperature ranges or surface approvals that apply to every adhesive of the same type (Huber Engineered Woods; Loctite).
A generic construction adhesive is suitable only when its documentation covers structural panels bonded to floor framing under the actual site conditions. Wood-flooring adhesive intended to bond finished hardwood to a prepared substrate is a different product.
Adhesive Supplements the Fasteners
A glued subfloor is normally a glue-nailed or glue-screwed assembly. Adhesive restricts movement between the panel and framing. Mechanical fasteners pull the panel into contact while the adhesive sets and provide the attachment specified by the panel manufacturer, plans or applicable code.
Do not reduce the fastener schedule because the package promises a strong bond. APA’s glued-floor detail specifies both adhesive and nails. Weyerhaeuser also describes glue-nailed construction as the preferred approach for a flat, stable floor (APA Engineered Wood Construction Guide; Weyerhaeuser).
Plan the panel rating, joist spacing, edge support and fasteners together using the subfloor installation checklist.
Adhesive cannot correct:
- an undersized, split or sagging joist;
- unsupported panel edges where support is required;
- substantial height differences between adjacent joists;
- rotten or delaminated material;
- badly warped panels; or
- active moisture intrusion.
Those defects can leave movement or lost capacity in the assembly regardless of bond strength. Diagnose and repair them before covering the floor.
Apply Adhesive Without Closing Panel Gaps
1. Dry-Fit the Panels First
Confirm panel orientation, end-joint locations, edge support and required gaps before opening the adhesive. APA recommends 1/8-inch spacing at panel ends and edges unless the panel manufacturer says otherwise.
Some tongue-and-groove products are designed to self-gap. Do not automatically force every joint tightly closed (APA Builder Tips).
2. Clean and Check the Bearing Surface
Remove standing water, ice, sawdust, mud and loose debris. Approval for damp or frozen lumber does not mean adhesive can be applied over a layer of ice or dirt.
Check framing for crowns, misalignment and damaged flanges before proceeding. Adhesive will not level framing or restore a damaged structural member.
3. Apply Only What You Can Cover Promptly
APA’s general guidance calls for a continuous bead about 1/4 inch in diameter on framing and a serpentine pattern on wide bearing surfaces. It also advises applying enough adhesive for only one or two panels, reducing the chance that the bead skins over before contact (APA).
Treat that as general guidance, not permission to override the selected product’s instructions. Foam systems may specify a different dispensed bead, and some cartridge products require a larger one. Coverage per container also changes substantially with bead diameter.
At panel end joints, follow the panel and adhesive details so both ends bear fully and contact fresh adhesive. Some manufacturers specify two beads at these locations (Weyerhaeuser).
4. Set, Gap, and Fasten Immediately
Lower the panel onto the fresh bead, establish the specified edge gap and complete fastening before the adhesive skins or sets. Working time varies by product and conditions, and warm weather can shorten it.
Drive fasteners into the framing rather than beside it. Seat them without crushing the panel face, and do not omit fasteners in the belief that adhesive strength compensates for them.
Whether to glue a tongue-and-groove joint depends on the panel instructions. APA’s general glued-floor system includes a smaller bead in the groove, but panel profiles and manufacturer requirements vary. Keep squeeze-out from filling a required expansion gap.
5. Inspect the Subfloor Before Covering It
After the adhesive has cured, walk the installed panels and check for squeaks, missed framing, proud fasteners, unsupported seams and swollen or damaged edges. Correct those defects before installing finished flooring.
A Second Panel Layer Requires Its Own Detail
Do not assume that joist-style beads of subfloor adhesive belong between an existing subfloor and plywood underlayment or another panel layer. APA’s typical plywood-underlayment detail specifies panel offsets, a close but not tight fit and a defined fastening pattern. It does not present subfloor-adhesive beads as a universal step (APA Engineered Wood Construction Guide).
Follow the instructions for the underlayment, tile system or finished flooring. If the approved assembly calls for bonding, it may require a particular full-spread adhesive and trowel rather than cartridge subfloor adhesive.
For the complete panel-over-joist sequence, see how to install a subfloor.
The usable specification is subfloor-rated adhesive meeting ASTM D3498 or APA AFG-01, documented for the actual materials and conditions, applied within its working time, and paired with the required fasteners.