
Choose a Plywood Subfloor by Rating, Span, and Finished Floor
Learn how to read a plywood subfloor stamp, choose an assembly, plan installation, and spot moisture or structural problems before covering it.
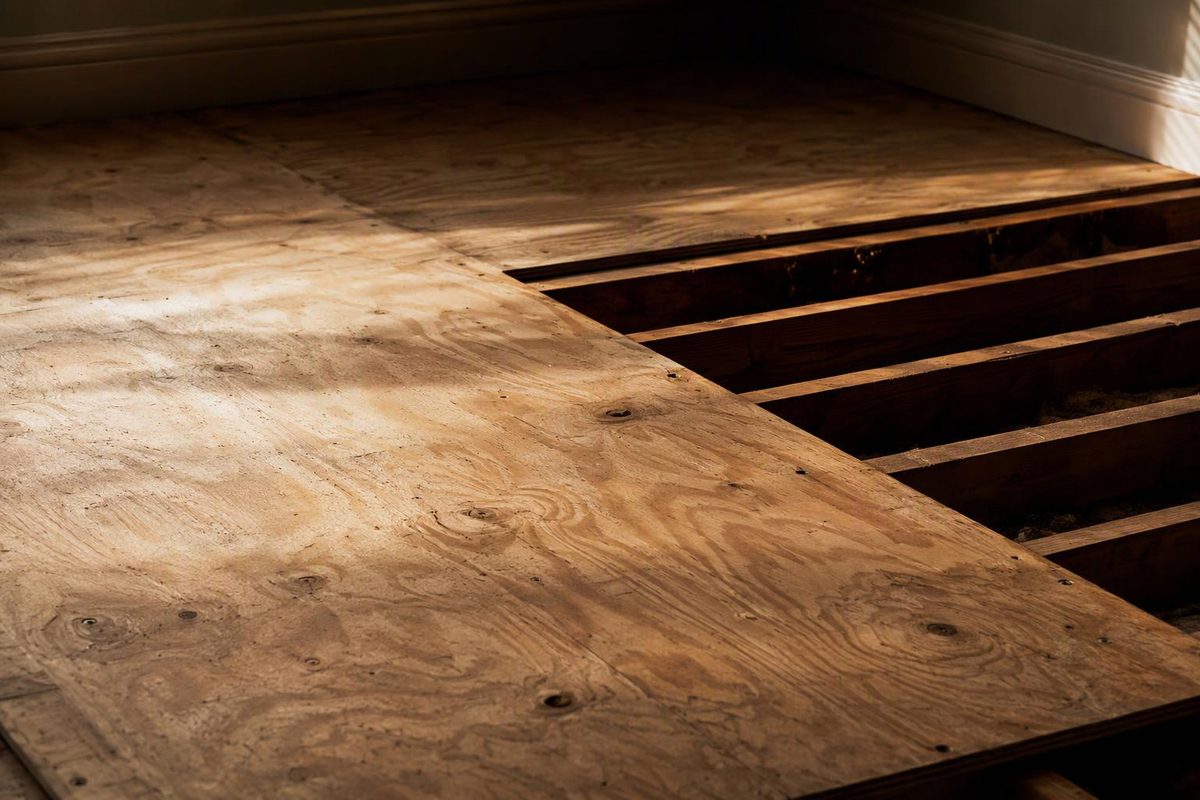
A plywood subfloor is the structural panel fastened to joists or other supports beneath the finished floor. It is not automatically the smooth underlayment directly below vinyl, nor is it a waterproof layer.
That distinction matters. A sheet can be thick enough to look substantial yet still be wrong for the support spacing, exposure or finished-floor system. Choose the complete assembly rather than relying on a rule such as “use 3/4-inch plywood.”
Start with the panel stamp
For structural floor work, look for a grade stamp identifying the standard, panel grade, span rating, bond classification and Performance Category. APA explains that plywood made to PS 1 or PS 2 carries performance and thickness designations used for code purposes; common structural grades include Rated Sheathing and Rated Sturd-I-Floor (APA plywood guide).
Read the key markings this way:
- Rated Sturd-I-Floor is intended for single-layer floor construction and is commonly available with tongue-and-groove edges.
- Rated Sheathing can serve as a subfloor, but it typically needs separate underlayment beneath finishes that require a smoother surface.
- Span rating identifies the maximum recommended support spacing—not the panel thickness. On Rated Sheathing, the second number is the subfloor rating; for example, 32/16 indicates supports spaced no more than 16 inches on center for a floor application. Sturd-I-Floor uses a single floor rating.
- Exposure 1 means the glue bond can tolerate moisture encountered during construction. It does not make the panel suitable for permanent weather exposure or turn the floor into a waterproof assembly.
- Performance Category is the panel’s recognized thickness category. Check it instead of assuming a nominal retail label tells the whole story.
Do not substitute cabinet plywood, particleboard or thin decorative panels for rated structural subflooring merely because their measured thickness looks similar.
Thickness is only one part of the specification
The correct panel depends on:
- joist or truss spacing;
- the panel’s span rating and edge configuration;
- whether panel edges are supported;
- expected loads and required stiffness;
- the finished-floor manufacturer’s instructions; and
- local code and approved construction documents.
Tongue-and-groove edges support adjoining long edges without separate blocking where that panel system is approved. Square-edge panels generally need blocking or another approved edge-support detail. APA’s glued-floor system combines adhesive with nails to help increase stiffness and limit squeaks and nail popping (APA floor-systems guidance).
A thicker panel does not repair an overspanned, cut, rotten or poorly supported joist. If the floor slopes, bounces across a broad area or has cracked framing, diagnose the structure before adding plywood. The sagging-floor guide explains the distinction between a panel problem and a framing problem.
Match the assembly to the finished floor
There is no universal plywood build-up for every floor covering.
Hardwood
The panel must provide adequate fastener holding, dryness and flatness for the selected nail, staple, glue or floating method. The National Wood Flooring Association says the floor usually needs to be flat rather than level. Its baseline tolerances vary by installation method:
- With mechanical fasteners 1½ inches or longer: 3/16 inch in 6 feet or 1/4 inch in 10 feet.
- With glue-down, floating or shorter-fastener installations: 1/8 inch in 6 feet or 3/16 inch in 10 feet.
The flooring manufacturer’s instructions can specify otherwise (NWFA 2025 Installation Guidelines). See the plywood subfloor for hardwood checklist before selecting panel thickness or a fastening method.
Tile and stone
Tile requirements are assembly-specific and often more demanding than requirements for carpet or hardwood. An uncoupling membrane does not correct inadequate framing or an unsuitable panel assembly. Follow the instructions for the exact tile, mortar, backer or membrane system rather than copying one panel thickness from another project; Schluter’s DITRA handbook, for example, provides separate wood-substrate details for its systems (Schluter DITRA handbook). For wet rooms, use the bathroom subfloor guide.
Resilient flooring and carpet
A structural subfloor may not provide the smooth surface needed under sheet vinyl or other resilient flooring. APA distinguishes structural subfloor panels from plywood underlayment, which has a face and inner-ply construction intended to resist dents and punctures. Sturd-I-Floor can serve directly beneath carpet and pad in suitable assemblies, while resilient flooring commonly needs a smooth, fully sanded underlayment (APA floor-systems guidance). The finish-floor instructions control.
Installation sequence
Before fastening any panel:
- Verify the framing. Confirm support spacing, joist condition, bearing and the locations of plumbing, wiring, ducts and gas lines. Repair rot and correct missing edge support first.
- Plan the layout. Orient the panel’s strength axis as its stamp and construction documents require—normally perpendicular to joists. Stagger end joints and land supported ends over framing.
- Dry-fit penetrations and edges. Do not leave narrow, unsupported scraps at walls, tubs or openings. Patches need framing or blocking under every structural edge.
- Leave the specified panel spacing. APA recommends 1/8 inch at panel edge and end joints unless the panel manufacturer states otherwise. Tightly butted sheets can ridge or buckle as moisture changes (APA plywood guide).
- Apply compatible construction adhesive correctly if the assembly calls for it. Work within its open time and set the panel before the adhesive skins over. Do not use beads of adhesive to bridge low joists.
- Use the specified fasteners and schedule. Fastener type, length and spacing depend on panel thickness, framing material, adhesive use, local code and the approved plan. Mark joist lines and keep fasteners clear of concealed services.
- Inspect before covering. Correct proud fasteners, unsupported joints, movement and squeaks. Map the floor with a straightedge, string line or laser instead of judging flatness by eye.
For a detailed fastening and layout workflow, use the subfloor installation checklist.
Do not cover wet or damaged plywood
Dark staining alone does not prove rot, and a dry surface reading does not prove the core is dry. Look for softness, delamination, swollen edges, loss of fastener holding, fungal growth and repeated high moisture readings near the water source.
For plywood exposed to leaks or flooding, the NWFA calls for tests at the face, back and core in several locations using an insulated-pin, hammer-probe meter. It says to replace plywood when damage is evident and to bring replacement material within an acceptable moisture range before installing wood flooring (NWFA 2025 Installation Guidelines). Address the leak, drainage, crawl-space humidity or condensation before deciding whether to dry, patch or replace the panel.
A localized damaged section can often be replaced if every new edge is supported and the replacement matches the required rating and thickness. Use the damaged subfloor replacement sequence for planning. Stop and obtain structural help when damage extends into joists or beams, the floor is actively moving, rot is widespread, or the repair would alter load-bearing framing.