
Subfloor Installation: A Checkpoint-by-Checkpoint Guide
Plan a wood-panel subfloor installation around joist spacing, panel ratings, edge support, gaps, adhesive and fasteners—not one generic recipe.
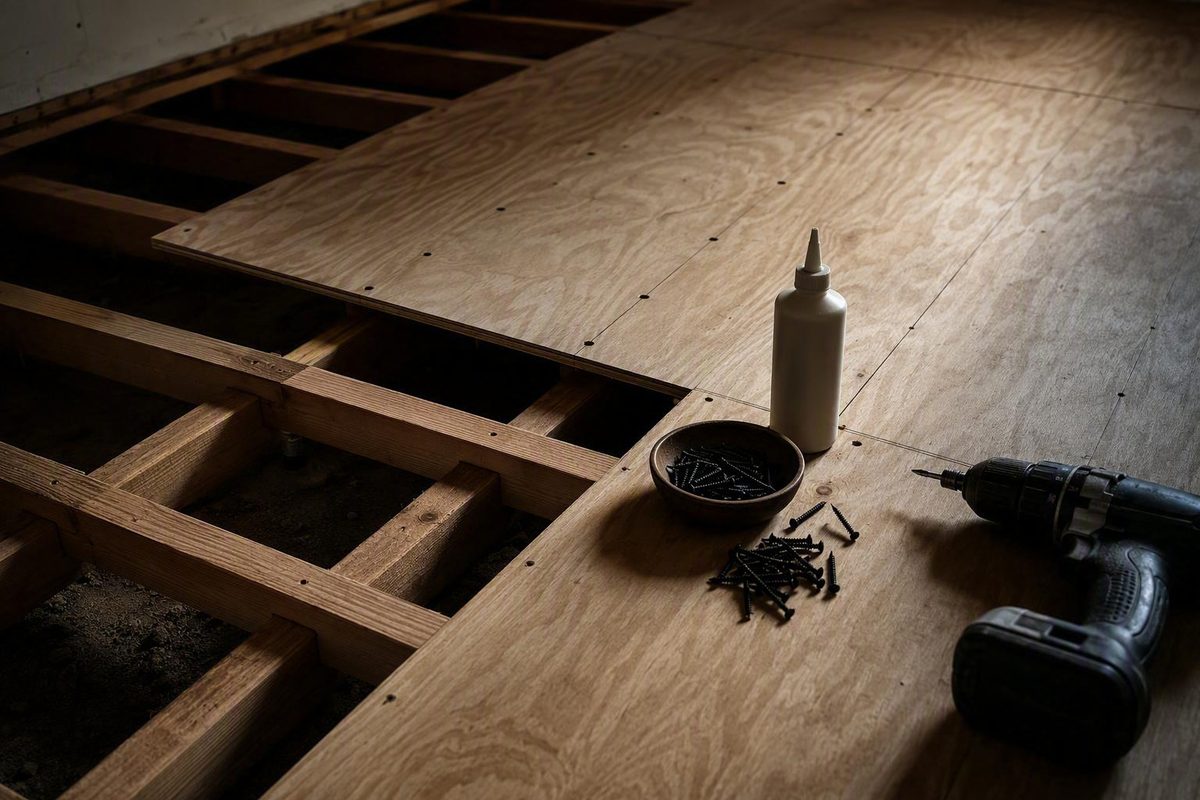
A reliable subfloor installation begins with the whole floor assembly, not a universal plywood thickness or screw pattern. Identify the framing, choose a panel rated for that support spacing, account for the finished floor, and then follow the project plans, local code and panel instructions.
This guide covers structural plywood or OSB panels installed over wood joists. A thin underlayment placed over an existing subfloor is a different layer with a different fastening schedule.
1. Stop and inspect the framing
Remove enough of the old flooring to see what will support the new panels. Check:
- Joist spacing, depth and span
- Rot, splits, insect damage or unauthorized notches and holes
- Joists that are crowned inconsistently, out of plane or loose in hangers
- Plumbing, wiring, ducts and gas lines below every proposed cut and fastener path
- The source of any leak or chronic crawl-space moisture
Do not use new sheathing to conceal soft framing, active moisture or a sagging load path. Structural movement, widespread decay or an altered bearing wall calls for qualified assessment before installation. For a localized damaged area, use the separate subfloor replacement guide; for a broader diagnostic path, see repairing a subfloor.
2. Specify the complete assembly
Record the joist spacing and read the grade stamp on the proposed panel. For APA Rated Sheathing, the second number in a two-number span rating is the maximum recommended support spacing for subfloor use; a Sturd-I-Floor span rating is shown as one number. Those ratings assume the panel’s long dimension or strength axis runs across at least three supports (APA).
Do not select a panel from nominal thickness alone. Confirm all of the following:
- The panel grade and span rating suit the measured joist spacing.
- The panel thickness and floor stiffness suit the finish-floor manufacturer’s requirements.
- The edge profile or planned blocking supports every required joint.
- The panel’s exposure classification fits expected construction exposure; it does not make a wood subfloor waterproof.
- The added height works at doors, stairs, cabinets, toilets and adjoining floors.
Tile, resilient flooring and hardwood can require different layers above the structural panel. APA notes, for example, that Rated Sheathing used as a subfloor typically needs a separate underlayment before finish flooring, while some Sturd-I-Floor assemblies do not (APA). For a wet-room assembly, continue with choosing a bathroom subfloor.
3. Dry-fit the panel layout
Lay out sheets with the strength axis perpendicular to the joists and end joints landing on framing. Stagger end joints in successive rows rather than creating one continuous cross-joint.
Plan edge support before cutting. The 2021 IRC table requires unsupported panel edges to be tongue-and-groove or blocked, subject to listed exceptions for particular layers or finish-floor assemblies (ICC). Local adopted code and engineered plans control, so do not assume an exception applies to a repair.
Keep panel seams away from unsupported openings. Around a patch, register, toilet or plumbing penetration, add approved framing support where needed without cutting or drilling engineered joists outside their manufacturer’s rules.
4. Leave the specified gaps
Do not hammer square-edged sheets tightly together. APA recommends a 1/8-inch space between wood structural panels because plywood and OSB change dimension with moisture and tightly butted panels can buckle (APA). Self-gapping tongue-and-groove profiles may establish the long-edge spacing themselves; do not force the tongue hard into the groove.
Use the panel manufacturer’s required perimeter clearance at walls and fixed obstructions. A 1/8-inch panel-to-panel rule is not automatically the correct wall gap.
5. Glue and fasten in a controlled sequence
First clean the joist tops and correct approved framing irregularities. Mark joist centerlines where they will remain visible after the sheet covers the framing.
If the assembly calls for adhesive, use a subfloor adhesive approved for the panel and framing materials. Apply it only to clean, dry framing and only as far ahead as can be covered within its open time. Weyerhaeuser advises spreading enough for one or two panels and completely fastening each panel before the adhesive sets (Weyerhaeuser). Adhesive supplements the specified mechanical fastening; it is not a substitute for it.
Set the sheet into place, maintain the gaps and fasten from one area outward so the panel bears tightly on the joists. Keep every fastener centered over framing. A missed joist provides no dependable panel-to-joist connection and can become a squeak source.
Use the fastener type, length, edge distance and spacing in the approved plans, local code and current panel instructions. As one product-specific example—not a universal schedule—Weyerhaeuser calls for fasteners at least 3/8 inch from panel edges, with maximum spacing of 6 inches on supported edges and 12 inches at intermediate supports for the OSB products covered by its guide (Weyerhaeuser). Do not copy that schedule onto a different panel or engineered floor without verification, and do not use drywall screws as structural subfloor fasteners.
6. Inspect before covering the subfloor
Walk the installed area and correct problems while the framing is still accessible:
- Verify that every seam intended to be supported actually lands on a joist, rim or block.
- Inspect from below for missed fasteners where access permits.
- Reset proud fasteners without crushing the panel surface.
- Check for movement, squeaks, damaged tongues and raised seams.
- Remove adhesive ridges and debris.
- Recheck flatness and moisture against the finished-floor manufacturer’s limits.
A panel can be structurally adequate yet still be unready for tile, vinyl or hardwood. Resolve wet areas, swelling, uneven seams and unsupported edges before adding underlayment or finish flooring. If the next layer is hardwood, use the engineered-hardwood readiness check or the plywood subfloor preparation guide rather than assuming the structural-panel installation completes the job.