
Levelling a Wooden Floor: Measure First, Then Choose the Fix
Separate uneven boards from subfloor dips and structural sagging. Measure flatness, choose a compatible repair, and know when to stop DIY work.
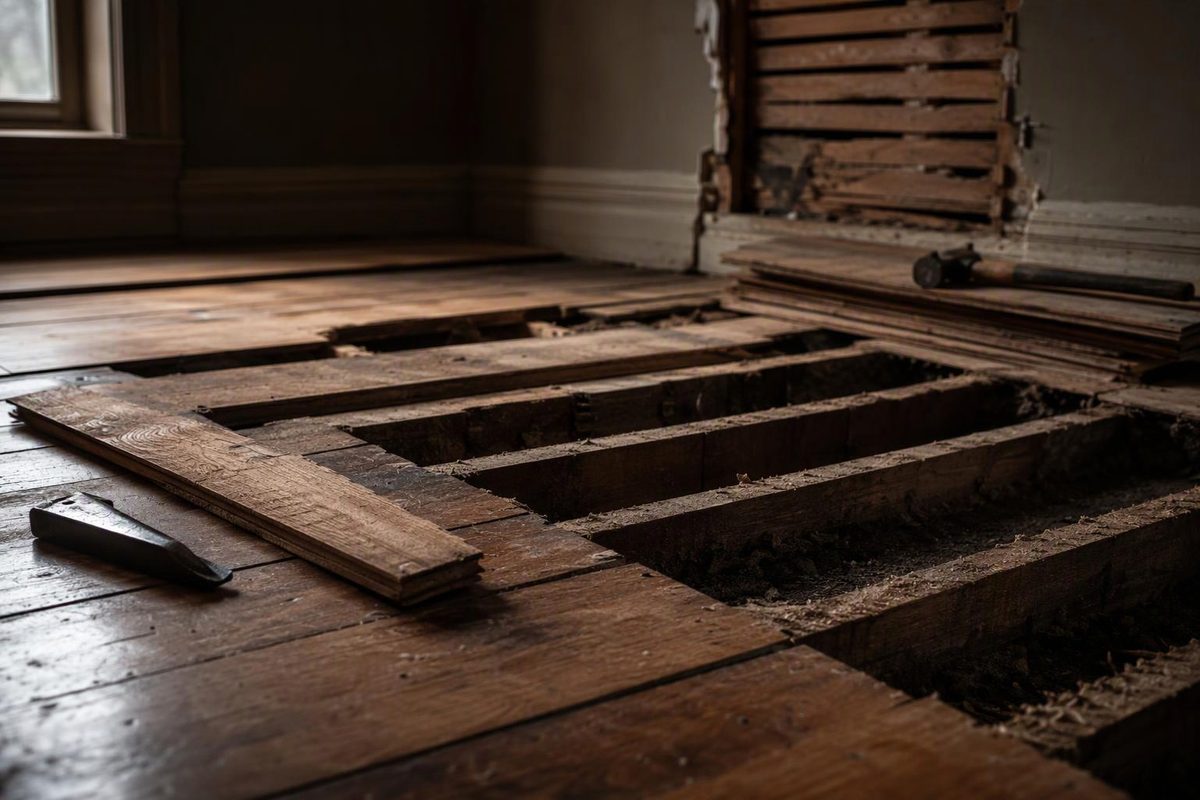
Levelling a wooden floor can mean flattening an exposed subfloor before installing new flooring, correcting distorted hardwood boards, or repairing sagging framing. These are different jobs. A levelling compound is an underlayment—not a substitute for sound wood and supports.
Start by identifying which layer is uneven and whether it is still moving. Then measure the floor against the requirements of the flooring you intend to keep or install.
1. Decide whether you need flatness or true level
A level floor is horizontal. A flat floor has no excessive humps or dips, even if the whole surface slopes. A straightedge can lie evenly on a sloping floor while a spirit-level bubble remains off-centre.
For most wood-floor installations, flatness is the relevant requirement. The National Wood Flooring Association’s installation guidelines distinguish between installation methods, giving these flatness tolerances:
- Glue-down, floating, or mechanical fasteners shorter than 1½ inches: ⅛ inch in 6 feet, or 3/16 inch in 10 feet.
- Mechanical fasteners 1½ inches or longer: 3/16 inch in 6 feet, or ¼ inch in 10 feet.
These are North American industry guidelines, not universal product specifications. Follow the particular flooring manufacturer’s instructions if they differ. Do not treat the allowance over 10 feet as an allowable gap over any shorter distance.
An overall slope is a separate diagnostic question. Meeting a flatness tolerance does not establish that the framing is structurally sound.
2. Map the unevenness and identify the layer
For installation preparation, measure the exposed substrate the new floor will sit on—not just the old finish flooring. If the layers are unclear, begin with identifying a wooden subfloor.
Use a straightedge of the length required by the flooring instructions, a gap gauge or measured shims, chalk, and a notebook:
- Lay the straightedge in several directions across the room, including panel joints and doorways.
- Measure gaps beneath it. If it rocks, mark the high point and reposition it to understand the surrounding surface.
- Mark high areas and outline low areas, recording their depth and extent.
- Use a laser level separately to map overall elevation changes where slope is the concern.
- Note squeaks, movement, staining, and any changes since earlier observations.
This follows the NWFA’s straightedge and laser assessment methods. A useful record is “a ¼-inch hollow across this doorway,” rather than simply “the floor is uneven.”
| Observation | What to investigate before flattening |
|---|---|
| Raised edges on individual hardwood boards | Moisture distortion in the finish flooring |
| A ridge along an exposed plywood or OSB joint | Edge swelling, fastening, and panel condition |
| A local dip in an otherwise rigid substrate | A possible surface correction, after checking support |
| A broad sag, bounce, or changing slope | Subfloor, joists, beams, and their supports |
These patterns guide inspection; they do not prove the hidden cause.
Stop surface work where there is significant movement, soft or deteriorated wood, or an unexplained sag. Have a qualified builder assess the assembly; seek a structural engineer where support condition or load capacity is uncertain. The NWFA recommends assessing whether low areas are structural before removing subflooring or correcting joists. Do not jack the floor or shave joists simply to improve a level reading.
For suspected deterioration below the floor, see diagnosing crawl-space wood rot.
3. Resolve moisture and movement first
Do not sand cupped hardwood just because its surface feels dry. Moisture may remain deeper in the boards. Sanding raised edges while that imbalance persists can produce crowned boards after drying, as explained in the NWFA magazine’s guidance on measuring moisture in a cupped floor.
For exposed subflooring:
- Find and correct leaks or other moisture sources.
- Measure moisture with a meter suited to the material and compare results with the new flooring’s requirements.
- Address loose panels and fasteners only after confirming what lies beneath them.
- Replace damaged or delaminated panels rather than burying them beneath a patch.
The NWFA guidelines call for addressing subfloor movement and damage before installation and replacing plywood or OSB when water damage is evident. Our guide to subfloor repairs separates refastening from panel replacement.
4. Choose the correction around the next floor
Small high spots on a sound subfloor
Localized sanding may flatten raised panel seams. It is not a remedy for rot, continuing swelling, or a broad framing hump. Do not keep removing material until an extensive high area disappears without checking the remaining panel thickness and structural requirements.
Before disturbing old resilient flooring or unidentified adhesive, establish whether asbestos or other hazardous materials are present. The NWFA’s safety and subfloor guidance flags asbestos in older floor coverings and respiratory hazards from wood dust. Use dust extraction and appropriate respiratory protection when sanding wood.
Low spots beneath nail-down hardwood
Use a correction that preserves the floor’s required fastening into suitable wood. The NWFA describes plywood build-ups and other overlay methods, but warns that added thickness reduces fastener penetration and may contribute to noise or disengagement.
Do not assume you can nail through a cementitious self-leveller. The NWFA’s low-spot guidance specifically warns against this. Have the installer confirm the build-up, support, adhesive, and fastener requirements as a complete assembly.
Low spots beneath floating or glue-down flooring
A wood-approved patch or self-levelling underlayment may be suitable, but approval must cover the exact substrate and finished flooring.
For example, ARDEX Liquid BackerBoard’s April 2026 technical sheet lists untreated plywood and sound, well-bonded solid hardwood among suitable substrates. It requires a rigid, properly anchored base and specified preparation and priming. It does not require metal lath. That is a product-specific exception—not permission to pour any leveller over timber or OSB.
ARDEX’s wood-preparation instructions also specify plywood thickness and grade, and require removal of coatings and other bond-breaking contaminants down to bare wood. A substrate name alone does not establish that the existing floor is ready for a pour.
5. Check the complete build-up before mixing
Before a patch or pour, confirm:
- Substrate approval, required primer, and any reinforcement.
- Minimum thickness at high points and maximum depth in hollows.
- Treatment of openings, joints, and perimeter movement spaces.
- Added weight, doorway transitions, door clearance, and appliance clearance.
- Water ratio, working time, and drying requirements for the intended finish.
“Self-levelling” does not mean preparation-free. ARDEX’s technical sheet, for example, requires spreading and immediate smoothing or spike rolling, warns that extra water weakens the compound, and distinguishes walk-on time from readiness for flooring. It also identifies the product as intended for trained professional contractors.
After repairs have dried, measure the substrate again. Install the finish floor only when the surface meets its flatness requirement, moisture is acceptable, and unresolved movement or damage is no longer being concealed.