
Smooth Polyurethane Brush Marks Without Sanding Through the Stain
Tell raised brush ridges from lap marks, check sanding readiness, and choose a compatible floor recoat without damaging the stain or repeating the defect.
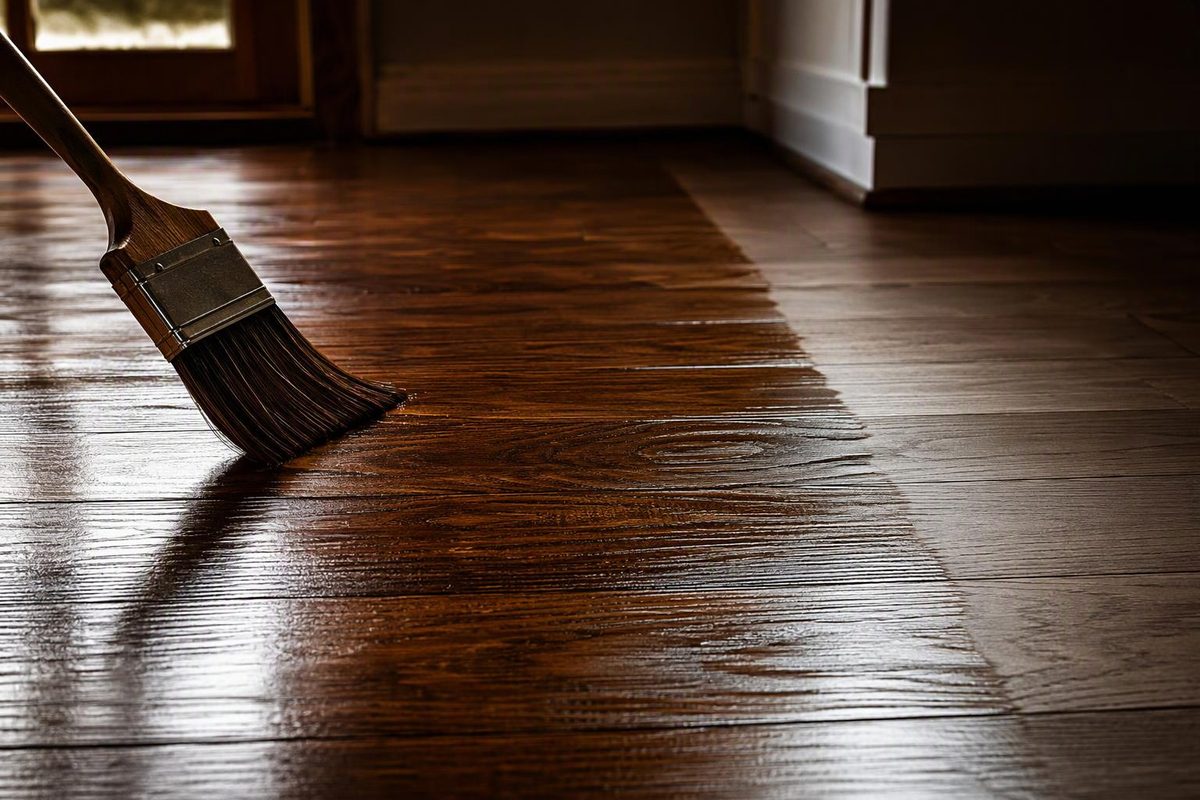
Dry brush marks in an otherwise sound polyurethane floor usually need controlled abrasion followed by a compatible coat—not more polyurethane poured over the ridges. If the finish is still wet but beginning to set, stop brushing it: dragging an applicator through partially dried finish can create more streaks and bubbles. Basic Coatings recommends abrasion and recoating for overworked finish.
Before sanding, identify what the lines actually are and check the instructions for the exact product on the floor.
Select the coating condition, mark type and sanding readiness to find your next step.
Find Your Repair Starting Point
Check Before Sanding
Confirm Sanding Readiness
Check the exact product’s sanding and recoating instructions, then test a small inconspicuous area. Dry to touch is not enough.
If the coating balls up on the abrasive, stop and allow more drying time. No universal waiting period is supplied.
Sources: Basic Coatings’ overworked-finish and applicator-mark guidance; Minwax finish instructions; Wood Floor Business stop-mark case. Use your exact product label.
Separate Brush Ridges From Lap Marks and Wood Defects
Once the coating permits light use, inspect it under low-angle light and ordinary room lighting. Note whether the marks follow applicator strokes, appear at overlaps, or follow individual board edges.
| What You See | Likely Issue | Repair Direction |
|---|---|---|
| Raised lines along application paths | Applicator ridges | Test controlled abrasion |
| Smooth dull or shiny bands | Lap or stop marks | Assess sheen and application technique |
| Lines beneath smooth finish | Scratches or color variation | Assess below the coating |
| Raised or cupped board edges | Wood movement | Diagnose the wood, not the finish |
Basic Coatings describes applicator marks as thicker lines of finish left along applicator edges that fail to flow out before drying. Those raised lines are different from a smooth coating that merely looks streaky.
A Wood Floor Business troubleshooting case linked satin-finish stop marks to flattening agents deposited where a lambswool applicator stopped or reversed direction. Sanding a supposed ridge is not the starting point if the surface is actually smooth and the defect is a sheen band.
Lines visible beneath a smooth coating may be scratches or color variation. Polishing the top cannot be relied on to remove them. Raised board edges, cupping or a sloping floor require a separate wood-movement or support assessment; recoating will not correct distorted boards or floor framing. For board distortion, start with diagnosing warped wood before flattening it.
Stop if the coating is peeling, exposing bare wood, or of unknown type. Establish whether it is suitable for recoating before treating it as a cosmetic defect. Wax, polish and other contamination also need to be addressed before a new coat; Minwax lists these among materials that must not remain on the surface. The screen-and-recoat readiness checks cover compatibility, contamination and adhesion testing.
Sand Only When the Product Allows It
“Dry to touch” is not a reliable sanding test. Follow the product’s sanding and recoating instructions, then try a small inconspicuous area. If the coating balls up on the abrasive, stop and allow more drying time; Minwax specifically recommends this test.
There is no single waiting period established here for all polyurethane finishes. Do not choose one from “oil-based” or “water-based” alone. Formulations have different schedules, and a thick coat may dry more slowly. See polyurethane drying times by type and use for the distinction between recoating, light use and cure.
Level the Coating Without Reaching the Stain
Start with a small test area and the abrasive specified by the finish manufacturer. The aim is an even coating surface—not removal of the finish down to wood.
For example, Minwax Fast-Drying Polyurethane specifies light sanding with 220-grit between coats. For floors, its instructions list a square-buff orbital or disk-type sander with 220-grit paper or an equivalent between-coat pad or screen. They expressly say not to use a belt or drum sander for this step. That guidance applies to this product; it is not a universal grit recommendation for every floor finish.
Check the test frequently. Do not keep sanding a stubborn line until the stain changes color or wood becomes exposed. If the marks cannot be reduced without that risk, have a floor refinisher assess whether deeper removal is needed.
Remove all sanding dust using the finish manufacturer’s approved method. For widespread marks, plan a uniform abrasion and recoat of the affected room or continuous area rather than a series of isolated patches. A small repair may remain visible; test it before committing to the larger floor.
Change the Application That Created the Marks
A new coat can repeat the same defect unless the applicator, technique or conditions change.
Match the Applicator to the Exact Finish
Minwax’s conventional oil-based Fast-Drying Polyurethane allows a natural-bristle brush, while its Water-Based Oil-Modified Polyurethane specifies synthetic bristles. Both list floor-pad options. A roller is not automatically suitable for every polyurethane.
Use the applicator approved for the product you are applying, rather than assuming the tool used for a previous finish is suitable.
Keep a Wet Edge Without Reworking Tacky Finish
Plan manageable passes and an exit route so fresh finish meets finish that has not begun setting. Do not return to touch up an area once it becomes tacky.
Apply the specified coat thickness. Flooding the floor to bury ridges is not the repair; stretching the coating too far is not a substitute for following its coverage instructions. Stir as directed rather than shaking. Do not thin unless the exact product instructions permit it; Minwax Fast-Drying Polyurethane says not to thin.
Control Fast Drying Without Sacrificing Ventilation
Hot flooring, direct sun and fast-setting conditions can impair leveling. Avoid a fan blasting across the wet coating, but maintain the ventilation required by the label. Do not seal the room to improve appearance. Basic Coatings’ applicator-mark guidance describes these leveling problems.
Follow label requirements for ventilation, protective equipment and waste disposal. Minwax Fast-Drying Polyurethane warns that soaked waste and sanding residue may spontaneously catch fire. Its instructions direct users to place them immediately in a sealed, water-filled metal container and dispose of them according to local fire regulations. Follow the disposal instructions for your specific product.
After recoating, observe the product’s separate restrictions for walking, furniture, rugs and cleaning. A smoother-looking finish does not mean the floor is ready for normal traffic.