
Cracked Floorboards: Choose the Repair Before Reaching for Filler
Tell a board split from a seasonal gap, check for moisture and movement, and decide whether cracked floorboards need touch-up, replacement, or inspection.
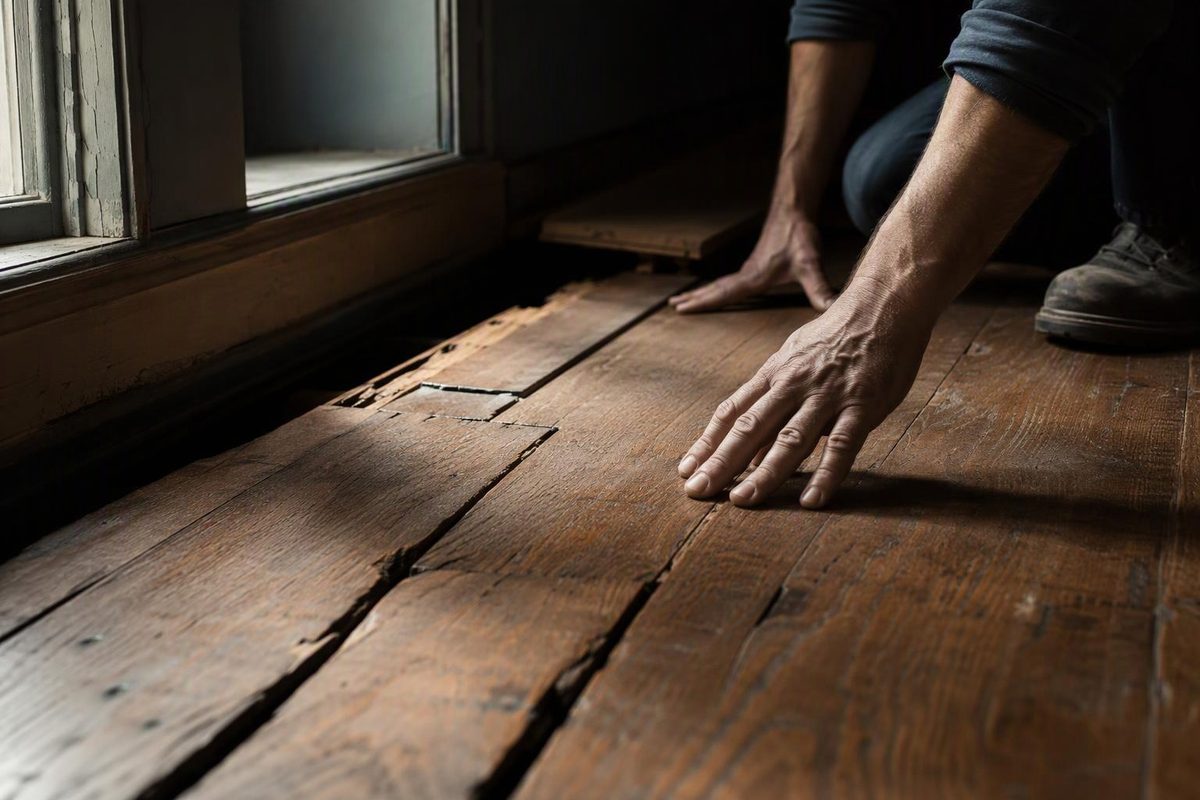
A small, stable crack in a sound wood floorboard may need only a cosmetic repair. A deep split, loose fragment, or moving board needs a different response—and cracks accompanied by sagging or dampness should be investigated before filling.
First locate the damage: is the opening inside one board, between two boards, or only in the coating? This guide concerns wood floorboards; laminate and vinyl planks need product-specific repair methods.
1. Identify what has actually cracked
Use a flashlight held at a low angle, then examine the area closely without prying the crack open. Vacuum loose grit gently so dirt does not obscure the edges.
| What you observe | What to check next | Likely repair direction |
|---|---|---|
| An opening along the joint between two boards | Does it widen in dry weather and narrow in humid weather? | Investigate seasonal movement before filling |
| A fine line within one board, often following the grain or starting at an end or knot | Is it shallow, stable, and free of loose splinters? | Monitor or make a cosmetic repair |
| A deep split, broken edge, or loose fragment | Does part of the board move independently? Is the tongue or locking joint damaged? | Assess for board replacement |
| Cracking beside a soft spot, pronounced bounce, sag, or water damage | Is the problem in the flooring, subfloor, or framing? | Stop cosmetic work and investigate below |
A gap is an opening between boards; a check is a crack within the wood. They can look similar from standing height but need different treatment. The NWFA’s technical vice president describes seasonal gaps as the result of wood contracting and expanding with humidity changes, and recommends against filling them during dry periods because the filler can be displaced when the boards expand. See the troubleshooting guidance.
Do not assume every newly visible crack was caused by a dry room. Checks in solid flooring can originate during lumber drying, close without healing, and reopen later with normal environmental changes. That history cannot be established from appearance alone. Wood Floor Business explains the drying-defect mechanism.
If the line appears confined to the clear coating, treat it as a finish-assessment problem—not automatically as a split board. Filling intact wood will not resolve a failed coating.
2. Check moisture and movement before choosing a repair
Record a few observations before altering the floor:
- Photograph the crack beside a ruler and note its location and length.
- Note when it appeared: after a leak, during heating season, following installation, or after moving a heavy object.
- Record room temperature and relative humidity with a thermo-hygrometer, comparing conditions with the flooring manufacturer’s requirements.
- Look for nearby staining, raised edges, swelling, or recurring dampness.
- Note movement during ordinary use. Do not repeatedly load a suspect soft area to “test” it.
For water-related damage, stop the moisture source and ask a flooring professional to assess the flooring and substrate, not just the room air. The NWFA’s installation guidelines call for evaluating both layers after water damage, testing their moisture content, and assessing ambient conditions during remediation. A hidden subfloor can be more compromised than the flooring above it. NWFA repair guidance, revised 2025.
Stop point: keep people off a visibly failing or very soft area. Pronounced bounce, a worsening sag, damaged framing, or cracking accompanied by foundation movement warrants a qualified building professional; suspected structural damage calls for an engineer. A crack alone does not establish structural failure. The NWFA distinguishes the finish floor from the supporting subfloor and recommends professional assessment where inadequate stiffness is a concern. NWFA subfloor guidance.
For damp or deteriorated wood below the floor, use our crawl-space wood-rot guide before planning a surface patch.
3. Fill only a stable cosmetic defect
Filler is appropriate when the board is sound and supported, the defect has no loose or lifting section, and moisture or movement problems have been addressed. It conceals a void; it is not a substitute for repairing a broken board or its support.
For a suitable small crack:
- Identify the finish and repair setting. An intact factory-finished floor needs a compatible touch-up approach; an unfinished or already-sanded floor can accept a filler intended for subsequent sanding and finishing.
- Test the match. Use spare flooring or an inconspicuous area. Check both color and sheen under room lighting.
- Prepare and fill locally. Remove loose debris without widening the defect. Apply the chosen product according to its instructions, keeping the repair confined to the damaged area.
- Complete the surface treatment. Observe the product’s drying requirements. Sand only if the repair instructions call for it and the flooring permits it; then restore the compatible stain or finish as required. Do not assume an engineered floor’s thin surface layer can tolerate sanding, or that sanding a factory finish will leave an inconspicuous patch.
Product type matters. For example, Bona specifies Pacific Filler for cracks and other defects prior to finishing, not as a universal wipe-in repair for an intact finished floor. Bona’s product instructions. For choosing between repair materials, see wood filler by repair type.
4. Replace a board that cannot be repaired reliably
Favor replacement assessment when a split is deep, a section lifts or flexes independently, or the joint is damaged. Repeatedly filling an opening that moves does not address why it keeps reopening.
Have the replacement selected before removing the damaged board. Match species, width, thickness, tongue-and-groove or locking profile, bevel, color, and sheen—not merely the label “oak.” The NWFA also calls for checking replacement-board moisture against the existing floor. NWFA board-replacement guidance. Our guide to matching hardwood boards for repair covers sourcing difficulties.
Before cutting, establish the actual board thickness and what lies underneath. If you cannot confirm whether the boards are a finish layer over a separate subfloor or part of the supporting floor deck, have the assembly assessed first. Do not copy a finish-board cut-out method into an unknown floor system.