
Fill Timber Floor Gaps Only After Checking for Movement
Choose between leaving seasonal gaps, using floor filler, fitting timber slivers or replacing boards—with practical checks before sanding.
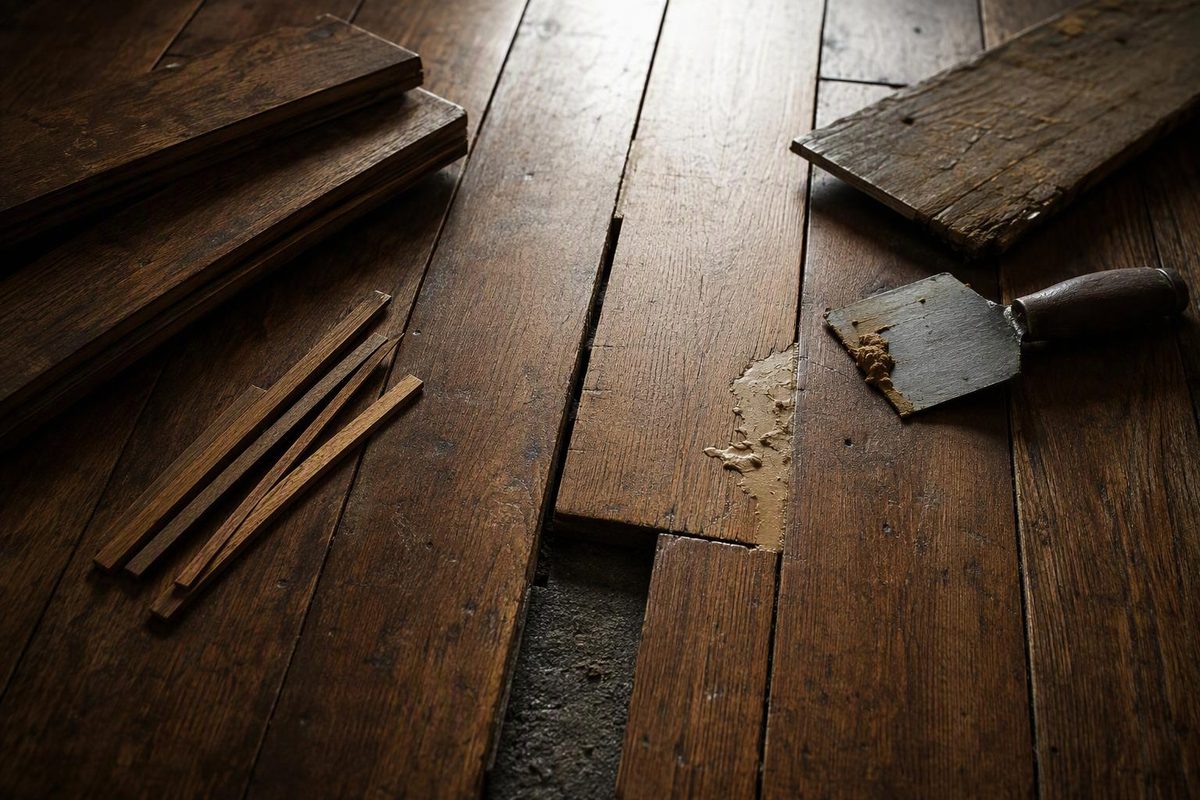
To fill gaps in a timber floor, first check whether the boards are still moving. Small, stable openings may suit a compatible floor filler during refinishing. Wide, persistent gaps may need matching timber or board replacement. Gaps that open and close seasonally usually should not be filled with a hard-setting product.
A gap can remain visible all year yet still change width. That distinction matters more than choosing the closest filler colour.
1. Check the gap before choosing a repair
Vacuum loose dirt out of several representative gaps without digging into the board edges. Record:
- Width: measure at both ends and the middle with a feeler gauge or ruler.
- Pattern: are gaps spread evenly across the room, concentrated near a heat source, or limited to one board?
- Timing: did they appear during dry weather or the heating season? Do older photographs show them closing later?
- Movement: do adjacent boards shift or flex under normal foot traffic?
- Floor construction: is this solid timber or engineered flooring, and is it nailed, glued or floating?
Use a room hygrometer to track relative humidity alongside the gap measurements. Bring conditions within the flooring manufacturer’s recommended range; do not raise humidity beyond that range simply to force gaps shut. The NWFA installation guidelines recognise that suitable humidity conditions vary by product and geographic region.
Seasonal gaps in solid flooring open as boards lose moisture and close as humidity rises. Persistent gaps can also involve fastening defects, local heat, previous moisture damage or subfloor movement, according to advice from Mullican Flooring’s quality-control manager published by Wood Floor Business. A few unchanged readings over a week do not establish year-round stability.
Stop cosmetic work if gaps accompany soft wood, water staining, significant bounce, sagging or continuing movement. Those observations warrant investigation of the flooring and its support—not a larger tub of filler. A room hygrometer alone cannot assess moisture damage: NWFA’s repair guidance calls for understanding moisture in the flooring, substrate and surrounding air before choosing repairs for water-damaged flooring. For a floor that also slopes or dips, start with levelling a wooden floor.
2. Match the repair to the opening
| What you find | Sensible next step |
|---|---|
| Small gaps that open and close with seasonal conditions | Monitor them and maintain the specified indoor conditions; avoid rigid filling. |
| Small, clean, stable openings in a floor scheduled for sanding | Consider a floor-rated filler or sanding-dust binder approved for that floor and installation method. |
| Wide, persistent gaps between otherwise sound solid boards | Have matching timber slivers or a fitted replacement board assessed. |
| Separated joints in floating or click-lock flooring | Check the manufacturer’s joint-repair procedure; do not treat separation as a cosmetic void. |
| A gap at the wall or another designated expansion location | Preserve the required movement space and conceal it with appropriate trim. |
There is no universal “fill anything below this width” rule. For example, Bona’s FAQ limits regular Mix&Fill to 2 mm, while its Mix & Fill Plus product page specifies gaps up to 3 mm. Those are product limits, not permission to fill a moving seam.
Installation method also matters. LOBA’s 2026 EasyFill technical instructions describe use on bonded parquet and hardwood floors. They warn that old floors with oversized, dirty joints, and nailed or screwed timber constructions, are generally not filled because dried filler can break out.
Perimeter expansion space is different from an unwanted board gap. NWFA guidance describes skirting, shoe moulding and suitable transitions as ways to conceal required expansion space without restraining the flooring. Shoe moulding should be fastened to the wall or skirting, not the floor.
3. Fill suitable small gaps during refinishing
Use this sequence only after the cause has been addressed and the floor is suitable for sanding. Do not sand through an intact finish merely to accommodate a filler, or assume an engineered wear layer can tolerate it. Use dust extraction and the protective equipment specified for the sanding tools and repair products.
- Choose the complete repair system. Check approval for the flooring, installation method, gap dimensions, stain and finish. See wood filler choices by repair type if you are comparing hard-setting filler with touch-up products.
- Prepare clean, dry timber. Remove loose old filler carefully and vacuum debris. Follow the product’s specified sanding stage and contamination-removal instructions.
- Test colour first. Make a sample using the intended filler, stain and topcoat. A species name on the container is not a guarantee of a match.
- Mix and apply as directed. For a sanding-dust binder, use fine, clean dust from the appropriate timber—not coarse sawdust or dust contaminated with old finish. Press the mixture into suitable openings with the specified applicator.
- Allow the required drying time. Deep or wide repairs can take longer than shallow ones. Refill shrinkage only if the instructions permit it.
- Remove residue and finish. Sand dried excess flush without hollowing the board edges, vacuum thoroughly, then apply the compatible finishing system.
This is a refinishing operation, not simply wiping paste into finished seams. LOBA’s instructions place filling between medium and fine sanding and require all surface residue to be sanded away. Follow your chosen product’s sequence rather than borrowing another brand’s drying times or grit numbers.
4. Use timber—not a thick filler bead—for wide persistent gaps
Pete’s Hardwood Floors recommends matching timber shims or a wider replacement board for substantial long gaps rather than hard-setting filler.
A sliver repair involves fitting matching timber, securing it appropriately and trimming it flush before finishing. It requires care: do not hammer an oversized wedge into a seam or bridge a gap that still needs to close. If many gaps need slivers, ask a flooring repairer whether relaying a section would be more appropriate.
Where an edge is broken or one board leaves an unusually wide opening, replacement may be the cleaner repair. Confirm the replacement’s dimensions and profile before removing anything; matching hardwood repair boards covers that decision.
If a filled seam cracks or ejects its filler, reassess movement and preparation before filling it again. Repeating the same cosmetic repair will not correct the underlying cause.