
Choose a Crawl-Space Humidity Monitor That Matches How You’ll Use It
Handheld meters suit spot checks; wireless consoles show readings upstairs; Wi-Fi or gateway systems add graphs and remote alerts.
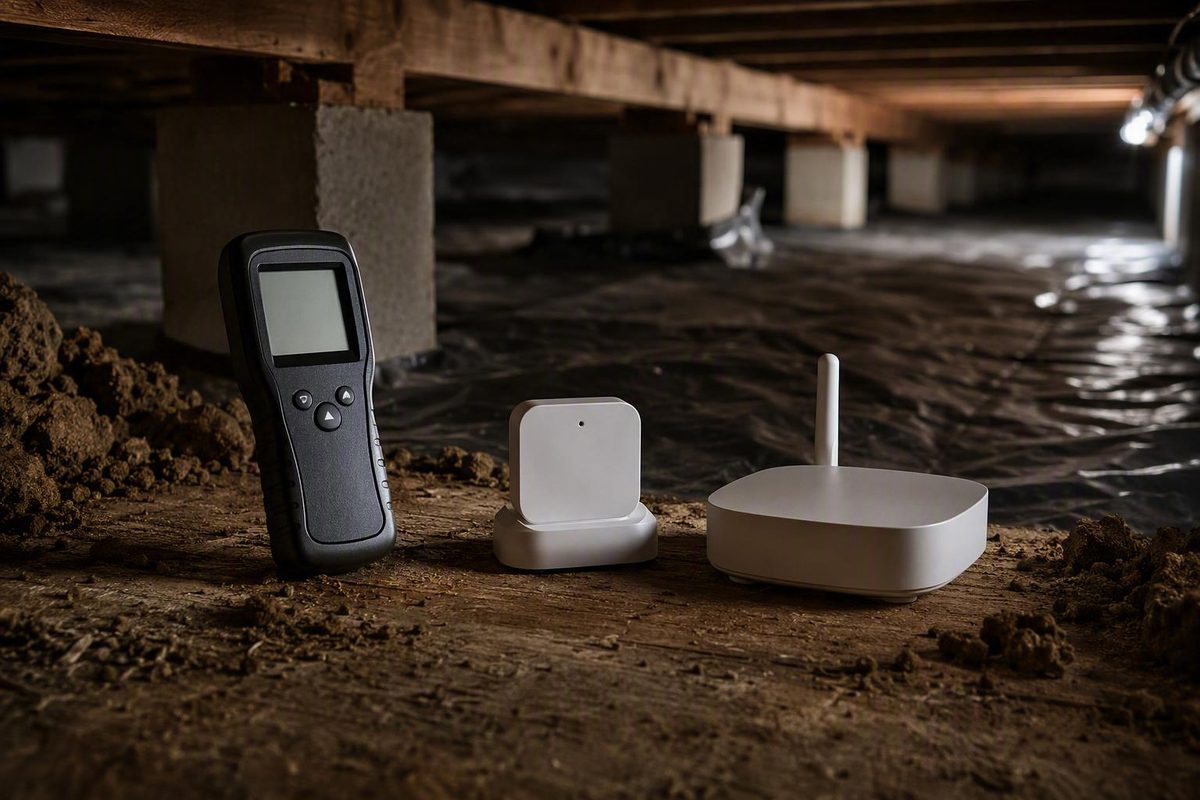
For most homeowners, the right hygrometer for a crawl space depends on how you want to receive the readings. Use a handheld meter for occasional inspections, a wireless sensor and console for viewing conditions inside the house, or a documented Wi-Fi or gateway system for historical graphs and away-from-home alerts. Prioritize stated accuracy, logging, calibration, protected placement, and reliable reception in your actual house.
Quick answer: match the monitor to the job
Start with the monitoring method, not the brand.
| Use case | Best-fit monitor type | What it does well | Main limitation |
|---|---|---|---|
| Occasional spot checks | Handheld hygrometer | Provides simple readings during an inspection | Requires crawl-space entry and manual records |
| In-home viewing | Wireless sensor with dedicated console | Displays crawl-space conditions inside the house | May lack internet access, graphs, export, and phone alerts |
| Away-from-home alerts | Direct Wi-Fi or sensor-plus-gateway system | Can provide remote access, alerts, and historical graphs | May depend on Wi-Fi, a gateway, cloud service, or subscription |
| Multi-zone troubleshooting | Console or connected multi-sensor system | Compares representative and suspected damp locations | Costs more and requires careful placement and sensor comparison |
A handheld hygrometer makes sense when you are willing to enter the crawl space, wait for the reading to stabilize, and record it manually. It is an inspection tool, not an unattended warning system.
A dedicated wireless console is the practical middle ground. One unit remains in the crawl space while its display stays upstairs. This arrangement lets you view temperature and relative humidity without crawling under the house, but “wireless” does not necessarily mean internet-connected. Confirm whether the system provides only current console readings or also includes graphs, data export, app access, and alerts.
Standalone data loggers can record temperature data at set intervals How to Monitor Temperature in a Crawl Space? – tempCube. Bluetooth commonly requires a nearby phone or additional connected hardware. Check the complete connection path before buying rather than assuming that “smart” or “wireless” means remote internet access.
One sensor may be enough for a small, relatively uniform crawl space. For a large or irregular space—or active troubleshooting—use multiple sensors. Place one in a representative area and another where you suspect conditions differ.
The features that matter more than the brand name
Use this checklist before buying:
- Stated RH accuracy: Check the percentage and the humidity band over which it applies.
- Calibration: Look for a documented adjustment, offset, or comparison procedure.
- Temperature measurement: Relative humidity changes with temperature, so interpret both readings together.
- Time-stamped logging: Choose this when you need to know when a change occurred and how long it lasted.
- Configurable alerts: Confirm whether alerts cover humidity, temperature, or both, and whether they work on every sensor channel.
- Data export: CSV or another portable format helps preserve and compare records.
- Local storage: Determine whether the sensor retains readings during Wi-Fi or internet interruptions.
- Power options: Compare battery-only operation with USB or line power, including what happens during battery replacement.
- Multi-sensor support: Verify the number of supported sensors and whether each can log readings and trigger alerts.
- Environmental limits: Check operating temperature, humidity range, condensation restrictions, and any documented ingress-protection rating.
Do not confuse minimum/maximum memory with historical logging. Min/max memory records only the extremes since the last reset. A time-stamped graph shows when a rise happened, how quickly conditions changed, and how long they persisted.
Accuracy specifications also require careful reading. A device may have a broad measurement range but a narrower band in which its stated accuracy applies. The AcuRite example below illustrates that distinction.
For remote access, establish the entire connection path:
- Does the sensor contain Wi-Fi?
- Does it require a separate gateway?
- Does Bluetooth require a phone to remain nearby?
- Is a cloud account necessary?
- Are alerts processed locally or through the internet?
Calculate total system cost as well: the sensor, gateway, extra probes, replacement batteries, continuous-power accessories, and any subscription. Check whether the device retains records when connectivity fails and whether missed readings upload later. Long-term drift, real-world battery life, outage behavior, and continued cloud support remain unresolved unless the exact model’s documentation addresses them.
Model examples by monitoring scenario
These products illustrate different monitoring arrangements. Every specification below is a seller, manufacturer, manual, or contractor claim rather than a result from common independent testing. The examples are not ranked from best to worst.
| Scenario | Example | Documented claims | Important limitation |
|---|---|---|---|
| Handheld checks | Extech 44550 | Retailer states 20%–90% RH range, ±5% RH accuracy, and min/max recording | No unattended remote monitoring |
| Basic wireless console | AcuRite 00829A1 | Seller states 1%–99% RH range, ±3% RH from 20%–80%, and up to 330-foot range | No documented app, export, or long-term logging |
| Multi-zone console | Ambient Weather WS-10 | Manual states three included sensors, up to eight channels, ±5% RH accuracy, calibration, specified-channel alarms, and min/max records | Min/max is not time-stamped history |
| Direct Wi-Fi | Trakkit THS | Manufacturer claims ±2% RH accuracy, alerts, 32,000 internal records, battery or USB power, and no separate hub | Manufacturer lists it as not waterproof |
| Wi-Fi/Bluetooth example | Unspecified Govee model | Contractor claims ±3% RH accuracy, notifications, history, and support for multiple sensors | Exact model and independent performance are not established |
The Extech 44550 is suited to manual spot checks, but its pen-style format does not provide unattended monitoring. The AcuRite 00829A1 represents a basic sensor-and-console arrangement. Its advertised range is a maximum claim, not a promise of reception through a particular floor, foundation, insulation system, or duct layout. Its seller page also does not document internet access, app alerts, export, or long-term time-stamped logging.
The Ambient Weather WS-10 illustrates multi-zone console monitoring. Its documented alarms apply to channels 1–3 and the indoor reading; the manual does not state that the remaining supported channels have the same alarm capability.
The Trakkit THS illustrates direct Wi-Fi monitoring without a separate hub. Its internal storage may be useful when evaluating connection interruptions, but buyers should still verify exact outage and upload behavior. Because the manufacturer lists the device as not waterproof, it needs protected placement.
The Govee example requires particular caution. The contractor article does not identify an exact model, so its claimed specifications should not be transferred to every Govee hygrometer.
Avoid choosing primarily by a changing retail price. Connection architecture, logging quality, calibration, protection from moisture, and actual signal reliability are more consequential.
Test the signal and place the sensor correctly
Before permanently mounting a sensor, place it temporarily in the intended location and confirm reception from the console, gateway, router, or phone position you will normally use. Advertised range is a maximum. Floors, masonry, insulation, metal ductwork, mechanical equipment, and distance can reduce it.
For a single sensor, begin in a representative location, often within the middle third of the crawl space. Avoid placing it immediately beside:
- an exterior vent;
- a plumbing pipe;
- a supply duct or other localized heat source;
- a dehumidifier intake or discharge;
- an access door; or
- a known wet spot.
Mount or suspend the sensor above soil and potential standing water. Do not lay it directly on the ground or vapor barrier.
When troubleshooting, add a second sensor near the suspected damp area, vulnerable framing, plumbing route, or another distinct crawl-space zone. The representative sensor provides context; the second shows whether the local area behaves differently.
Compare multiple sensors side by side before separating them. Let them stabilize, note any consistent offset, and use only documented calibration adjustments. The WS-10 manual recommends allowing approximately 30 minutes for its sensors to stabilize before comparison (Ambient Weather WS-10 manual).
Treat terms such as indoor/outdoor, weather-resistant, and water-resistant cautiously. They do not equal a verified waterproof rating. Even when a manual describes a sensor as water resistant, protected installation may still be required. Keep any monitor without a documented ingress-protection rating away from dripping pipes, condensation, splashes, and flood exposure.
Read trends, not one isolated percentage
Relative humidity is temperature-dependent. If air cools while its moisture content remains similar, its RH can rise. A higher percentage therefore does not by itself prove that new water entered the crawl space.
Review humidity and temperature together, then compare the pattern with:
- rainfall and exterior drainage conditions;
- season and outdoor weather;
- HVAC cycles;
- dehumidifier operation;
- vent position and outdoor-air entry; and
- whether the crawl space is vented, sealed, or encapsulated.
A brief weather-related spike is not equivalent to a sustained or recurring pattern. There is also no single duration or RH threshold in the cited commercial guidance that works as a universal standard for every climate and crawl-space design.
For example, Ruuvi describes approximately 35%–65% RH as acceptable, while Crawlspace Depot presents below 50% RH as generally healthy and flags increasing concern above 60% and more serious concern above 70% (Ruuvi’s commercial crawl-space guidance; Crawlspace Depot’s commercial humidity guidance). These ranges are conflicting seller or manufacturer recommendations, not a universal technical standard.
Instead of diagnosing from one number, look for repeatable changes. If humidity repeatedly rises after rainfall and remains elevated, inspect exterior drainage, soil vapor control, plumbing, vent conditions, and dehumidifier operation. If readings change abruptly when a dehumidifier stops running, the pattern may indicate an equipment problem worth checking.
A graph can narrow the investigation, but it cannot identify the moisture pathway. Rain-correlated readings do not reveal whether the cause is grading, foundation entry, damp soil, an open vent, or another condition. A high reading alone also does not establish mold, rot, a plumbing leak, or structural damage.
Know when a hygrometer is not enough
A hygrometer, wood moisture meter, and water alarm answer different questions.
| Tool | What it measures or detects | Best use |
|---|---|---|
| Hygrometer | Relative humidity in the surrounding air, often with temperature | Tracking crawl-space conditions and changes over time |
| Wood moisture meter | Moisture retained in framing, subfloor, or other material | Targeted checks of suspect materials and comparisons between areas |
| Water alarm | Liquid water contacting a sensor at a specific location | Warning of a leak, sump problem, or flooding at a low point |
These tools complement one another; they are not interchangeable. A dry water alarm says nothing about ambient humidity. A hygrometer does not show how much moisture a particular joist or subfloor panel retains. A wood moisture meter does not provide a continuous record of crawl-space air conditions.
For flooring or subfloor concerns, use humidity trends to identify where closer inspection may be useful, then take targeted material-moisture readings in suspect and comparison areas. Do not infer rot or structural deterioration from air humidity alone.
Where plumbing leakage or flooding is a concern, install a separate water alarm at the relevant low point while keeping the hygrometer above possible water exposure.
For recurring elevated readings, work in this order:
- Verify the monitor. Compare it with another sensor, allow it to stabilize, check its batteries, and review its calibration procedure.
- Recheck placement. Move it away from localized heat, airflow, water, soil, or equipment discharge.
- Inspect for obvious failures. Look for visible water, plumbing leaks, disconnected ducts, open vents, drainage problems, or a dehumidifier fault.
- Investigate likely moisture pathways. Consider exterior drainage, ground vapor, condensation, ventilation, and equipment operation.
- Address the source. Use continued monitoring to see whether conditions change after corrective work; do not treat monitoring as the repair.
If the concern includes sagging floors or suspected framing deterioration, consult HFI Flooring’s crawl-space floor-diagnosis coverage. A hygrometer may reveal a recurring moisture pattern, but it cannot establish structural damage or determine the required repair.
Choose by monitoring method first: handheld for occasional checks, a console for in-home viewing, or a documented Wi-Fi or gateway system for trends and remote alerts. Verify the exact model’s accuracy, logging, calibration, data access, power requirements, and environmental limits; test reception in the real crawl space; and keep the sensor protected in a representative location. Treat recurring humidity patterns as a prompt to inspect, not proof of a particular leak, rot problem, or repair.