
How to Refresh a Worn Wood Floor Without Taking It to Bare Wood
For intact finishes with dullness, scuffs, or shallow scratches, a compatible reviver or maintenance recoat may restore sheen and protection.
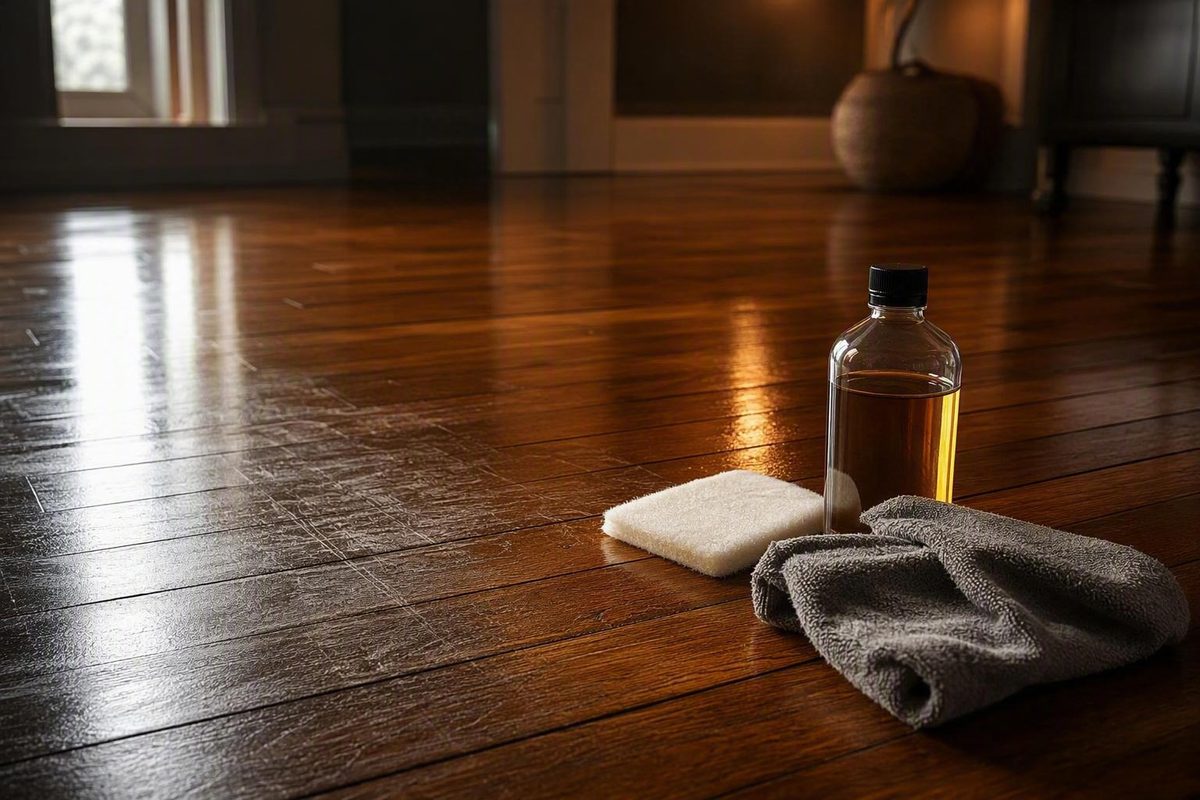
Yes—many hardwood floors can be refreshed without sanding to bare wood. If the existing finish is intact and the wear consists mainly of dullness, scuffs, or shallow scratches, a compatible reviver or maintenance recoat may restore a more even sheen and add protection.
But “no sanding” rarely means “no preparation.” Durable recoating often depends on controlled mechanical, chemical, or liquid abrasion so the new finish can bond. A recoat renews the coating; it does not repair damaged wood.
The short answer: you may not need to sand to bare wood
The first decision is not which product to buy. It is whether the damage stops within the finish or extends into the wood.
The National Wood Flooring Association defines recoating as applying a new coat of wood-floor finish and identifies it as a way to renew a dull floor. Its homeowner guidance also says scratches confined to the finish may sometimes be addressed by lightly abrading the existing finish and applying a new coat (NWFA’s homeowner handbook).
The available treatments fall into three broad levels:
- Reviver or cosmetic renewal: A product-specific coating intended for an intact but tired-looking finish.
- Maintenance recoat: A compatible new finish applied after the cleaning and bonding preparation required by that coating system.
- Full sand-and-refinish: Removal of the existing finish—usually with a small amount of wood—to address widespread failure, penetrating damage, or a major appearance change.
The middle option is often advertised as “refinishing hardwood floors with no sanding,” even when it includes screening, scuffing, or another type of abrasion. More precisely, it avoids aggressive sanding to raw wood.
That distinction matters because a new coating cannot erase dents, deep gouges, pet stains, black water marks, gray exposed fibers, cupping, or uneven boards. A continuous new sheen may make some existing defects more noticeable.
Use the floor’s condition to choose the treatment
Inspect the floor in strong natural light and again with a lamp held at a low angle. Low-angle light makes changes in sheen, scratches, peeling edges, and uneven wear easier to see.
If the mark exposes lighter raw wood, gray fibers, dark staining, or a visibly deep cut, the damage extends beyond what a simple recoat can remove.
| Observed condition | Likely depth of damage | Suitable next step | Reason |
|---|---|---|---|
| Uniform dullness, minor scuffs, intact finish | Surface coating | Consider a compatible reviver or maintenance recoat | The wood may still be protected |
| Light, even scratches with no exposed wood | Mostly within the finish | Check compatibility, then consider a screen-and-recoat | Light abrasion and a new coat may renew the finish |
| A few isolated scratches or defects | Localized finish or shallow wood damage | Seek an assessment for localized abrasion and recoating | Spot treatment may work, but color or sheen can differ |
| Deep gouges, exposed or gray wood, penetrating stains, flaking, widespread finish loss | Into the wood or failed coating | Seek repair or full-refinishing assessment | A surface coating will not remove the damage |
| Water damage, cupping, crowning, buckling, or uneven boards | Moisture or construction problem | Stop and diagnose before finishing | A coating cannot flatten or stabilize the floor |
Do not coat over moisture-related distortion. Even a flawless new finish will not correct the cause.
Compare the no-bare-wood-sanding options
“No sanding” covers methods that prepare the old finish in substantially different ways. Compare them by their preparation requirements rather than by the marketing label alone.
| Method | Abrasion level | Best use and expected result | Equipment and principal limitation |
|---|---|---|---|
| Consumer reviver | None or only product-specified preparation | Cosmetic improvement on an intact, lightly worn compatible finish | Applicator pad; compatibility is product-specific and wood damage remains |
| Screen-and-recoat | Light mechanical abrasion | Renews an intact finish with light, even wear | Buffer, pads, edge abrasives, vacuum; defects remain and poor preparation can cause failure |
| Chemical or liquid abrasion | Chemical or proprietary liquid preparation | Creates a bondable surface without drum sanding | System-specific products and tools; does not repair damaged wood |
| Full sand-and-refinish | Aggressive abrasion to bare wood | Widespread failure, penetrating damage, stain changes, or major restoration | Professional sanding equipment; removes wood and causes more disruption |
A consumer reviver is the least intensive option. Minwax, for example, describes cleaning a worn floor and spreading its Hardwood Floor Reviver in a thin coat without including sanding in the procedure. That is one manufacturer’s process for its own product—not evidence that every reviver will bond to every finish or perform like a professional maintenance coat (Minwax’s reviver instructions).
A screen-and-recoat uses a buffer and abrasive pad to scuff the old finish evenly, with hand abrasion around the perimeter and corners. The aim is not to expose raw wood. It is to remove gloss and prepare the existing coating for a compatible new finish.
Chemical abrasion uses a product-specific treatment to roughen or partially remove the existing finish. Proprietary liquid-abrasion services use the same broad principle without conventional drum sanding. N-Hance, for example, says its service uses liquid abrasion and offers UV curing. It also markets the process for engineered, hand-scraped, distressed, bamboo, cork, and previously over-sanded floors. These are the provider’s claims about its own system, not universal rules for those materials (N-Hance’s non-sandable floor service).
Full sanding remains the baseline when the old finish has failed widely, the desired color change requires removal of the existing coating or stain, or damage penetrates the wood. Broad refinishing price ranges are not useful for comparing these methods because they do not isolate the labor, materials, and equipment required for each one.
Check compatibility and contamination before touching the whole floor
A neat application can still peel if the new finish cannot bond. Treat floor identification and coating compatibility as the first stage of the job.
Before starting:
- Confirm that the surface is real wood flooring—not laminate, a printed surface, or another material that merely resembles wood.
- Determine whether it is solid or engineered wood.
- Look for invoices, leftover containers, manufacturer records, or installer notes identifying the existing finish.
- Check for bare spots, flaking, moisture damage, uneven wear, and evidence of an earlier coating failure.
- Consider whether wax, polish, oil soap, silicone-containing products, furniture polish, or heavy cleaner residue may have been used.
- Check whether a recently applied coating may still be curing.
- Read the current preparation requirements for the exact coating or professional system being considered.
Coatings manufacturer Basic Coatings identifies these factors, along with application problems, as possible causes of surface failure (Basic Coatings’ floor-care guidance).
Clean only with a product appropriate for the existing finish. Do not assume that a stronger household cleaner will improve adhesion; it may instead leave residue or damage the coating.
Evaluate the test area only according to the selected manufacturer’s procedure and acceptance criteria. If the finish is unknown, contamination is likely, or the test produces flaking, wrinkling, craters, or another result the manufacturer identifies as failure, stop and consult the flooring manufacturer, coating manufacturer, or a wood-floor professional.
A practical workflow for an eligible floor
Once inspection suggests that the floor may be eligible for recoating, follow the selected system’s instructions in this general order:
- Clear the room completely. Remove furniture, rugs, floor-level curtains, and objects that can introduce dust.
- Dry-clean the floor. Sweep, dust-mop, or vacuum using a bare-floor setting.
- Clean with a finish-appropriate product. Remove grime without flooding the boards or leaving residue.
- Inspect again. Cleaning may reveal worn-through areas, loose finish, stains, or deeper scratches that change the appropriate treatment.
- Prepare the surface exactly as required. This may mean product-specified cleaning for a reviver, controlled screening, or a proprietary liquid treatment.
- Remove dust or preparation residue. A mechanically abraded floor should be thoroughly vacuumed and dry-tacked as directed.
- Complete the test area. Use the manufacturer’s evaluation period and criteria to judge adhesion and appearance before treating the room.
- Apply thin, even coats. Maintain a wet edge or follow the boards only when the selected product’s current instructions call for those techniques.
- Observe every drying and curing milestone. Do not treat “dry” or “walkable” as meaning fully cured.
For a screen-and-recoat, lightly scuff both the perimeter and the main field without cutting through to raw wood. Keep the buffer moving and the abrasion controlled and even; excessive abrasion can remove too much finish. This is especially important when an engineered floor’s wear layer or the floor’s previous sanding history is uncertain. Thoroughly vacuum and dry-tack before applying the new coating, following the selected system’s directions (This Old House’s screen-and-recoat guide).
For one reviver example, Minwax tells users to clean first, apply its product thinly in small sections, and work in the direction of the floorboards. That workflow—and any application-rate, walkability, appearance, or durability statement associated with it—applies only to that product and its current instructions.
Do not improvise a generic chemical-etching formula or procedure. Use the selected product’s current label and safety documentation for preparation, application, handling, ventilation, protective equipment, cleanup, and disposal requirements.
Know when to stop, call a professional, and protect the new coat
A DIY recoat stops making sense when the project contains too many unknowns. Arrange a professional assessment if:
- You cannot identify the old finish.
- The product-specific adhesion test fails.
- Wax, silicone, oil, polish, or another contaminant is suspected.
- Bare or gray wood is widespread.
- The coating is peeling or worn away across substantial areas.
- Deep gouges, penetrating stains, or water damage are present.
- Boards are cupped, crowned, buckled, loose, or uneven.
- The floor is factory-finished, hand-scraped, distressed, or previously over-sanded.
- The floor’s construction or remaining wear layer is uncertain.
Both solid and engineered wood can be candidates for recoating because a controlled recoat works primarily on the finish. Engineered flooring deserves extra caution, however: its usable wood layer and previous refinishing history may limit how aggressively it can be abraded. Manufacturer restrictions should also be checked before working on specialty-textured or factory-finished floors.
Treat return-to-service instructions as separate milestones:
- Dry to the touch
- Ready for another coat
- Ready for light foot traffic
- Ready for furniture
- Ready for rugs
- Fully cured
The coating manufacturer’s current instructions control every milestone. Schedules vary by product and application conditions, so a time stated for one reviver, polyurethane, or proprietary service should not be transferred to another.
Afterward, reduce grit and moisture rather than relying on a fixed calendar for the next recoat. Sweep, dust-mop, or vacuum using a bare-floor setting. Clean spills promptly with a dry or slightly damp cloth, and avoid wet and steam mops, in line with the NWFA’s wood-floor maintenance recommendations. There is no universal recoat interval because finish type, traffic, wear, pets, and household use differ.
The condition-first rule is simple: if wear is light, even, and confined to a compatible intact finish, a tested reviver or recoat may avoid sanding to bare wood. If there is exposed wood, penetrating damage, finish failure, contamination, moisture distortion, or uncertain construction, stop coating over the symptoms and have the floor assessed for repair or full refinishing.
Can you change the color of hardwood floors without sanding?
Not substantially in most cases.
A maintenance coat should not be expected to conceal penetrating stains, exposed wood, or worn-through areas.
Is screening a hardwood floor the same as sanding it to bare wood?
No. Screening is controlled, light abrasion of the existing finish so a new compatible coat can bond. It typically uses a floor buffer and abrasive screen or pad, with hand abrasion around the perimeter.
Full sanding uses more aggressive equipment and abrasives to remove the finish and expose fresh wood. Screening is therefore not abrasion-free, but it is intended to leave the floor’s color and most of the existing finish system in place.