
Fixing Wood Floors Starts With Finding the Damaged Layer
Match scratches, chips, gaps, cupping, squeaks and sagging to the right wood floor repair—and know when to stop cosmetic work.
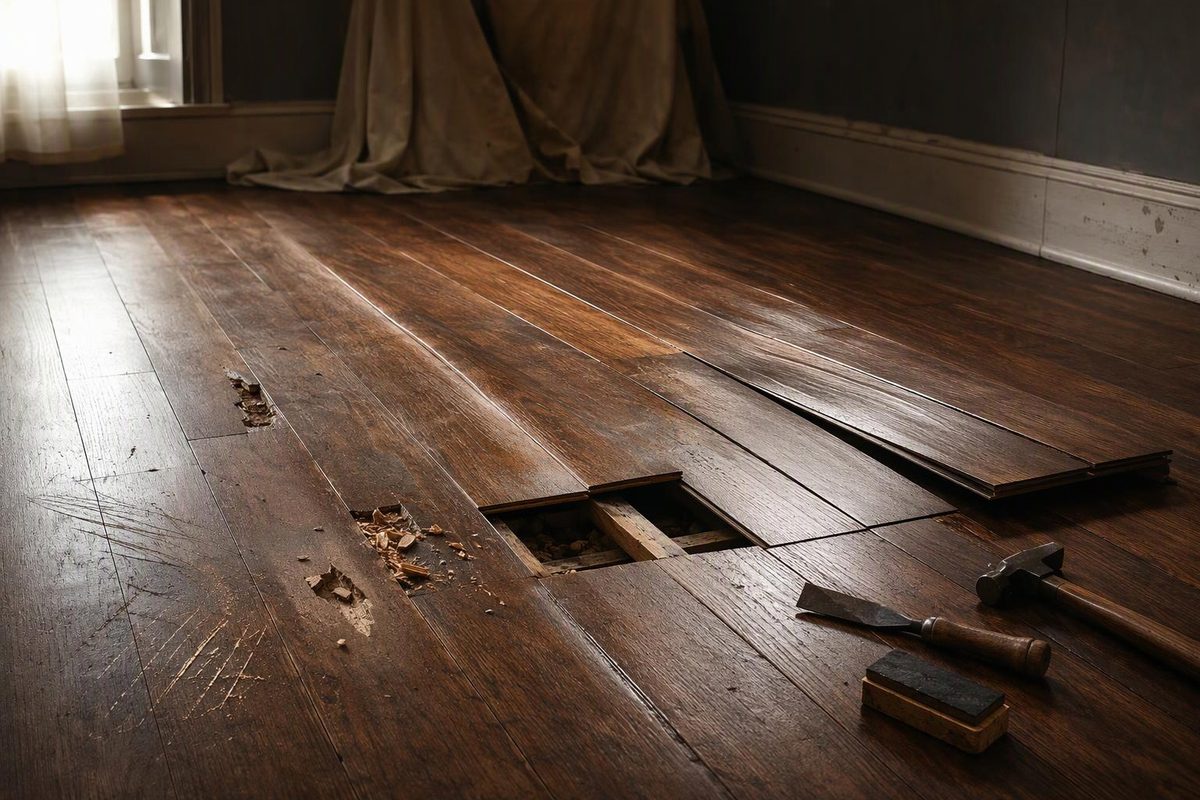
Fixing wood floors starts with separating surface damage from moisture movement and problems underneath the boards. A scratch may need only a touch-up. Raised board edges need moisture diagnosis before sanding. A springy or sagging area needs its supports checked—not another coat of finish.
Use this guide to choose a repair path before buying filler, renting a sander or driving fasteners through the floor.
1. Identify the floor and map the symptom
Find the flooring product name, installation records and finish information if available. Solid wood is one piece through its thickness; engineered flooring has a real-wood surface over other layers. Engineered floors generally have more limited sanding capacity. NWFA explains the constructions.
For either construction, check the manufacturer’s instructions and remaining usable thickness before sanding. Previous sanding can leave too little wood above nails or tongue-and-groove joints, as HUD’s Residential Rehabilitation Inspection Guide cautions.
Finish matters, too. Film-forming finishes, natural oils and wax finishes are different maintenance systems—not interchangeable clear coatings. NWFA’s finish guide describes those differences.
Record what you can observe:
- Extent: One mark, one board, a traffic lane or most of the room?
- Depth: Is only the sheen affected, or is wood missing or exposed?
- Movement: Does the board move under normal walking? Is there a broader dip?
- Timing: Did the problem follow a spill, leak, heating season or remodeling work?
- Change: Is it stable, seasonal or getting worse?
Take dated photographs with a ruler beside gaps or chips. For a dip, record the gap beneath a straightedge and its span. Those observations help an inspection; they do not establish whether hidden framing is sound.
| What you see | First repair path |
|---|---|
| Small scratch; board remains sound | Compatible finish or color touch-up |
| Local chip or gouge | Floor-approved filling system or board-replacement assessment |
| Dullness across an intact finish | Cleaning, then a compatible maintenance recoat |
| Gaps that change with the seasons | Humidity monitoring before filling |
| Raised board edges or lifted flooring | Moisture and installation assessment before flattening |
| Squeaks, bounce or broad sagging | Locate movement and inspect the floor assembly |
2. Repair small surface defects without enlarging them
Remove loose dirt first. Use a cleaner specified for the existing finish, rather than soaking the area to see whether the mark disappears. NWFA recommends sweeping or vacuuming on the bare-floor setting, cleaning spills promptly and avoiding wet or steam mops. Its maintenance guidance also emphasizes finish-specific cleaners.
For an isolated scratch or chip in otherwise sound flooring:
- Choose the product by depth. A finish touch-up addresses damaged clear coating; a color marker disguises lost color; a filling product occupies a small void.
- Verify compatibility and floor use. A furniture repair product is not automatically suitable for a walked-on surface. Check the current label’s safety precautions and intended user, too.
- Test in a hidden area. Check color and sheen before treating the visible defect.
- Work only within the damaged area. Follow the kit’s application instructions and remove excess from surrounding finish promptly.
- Allow the specified drying time before using the spot.
As one manufacturer-specific example, Hallmark’s touch-up instructions distinguish clear-finish markers, color markers and fill sticks. Its fill-stick method uses a clean, dry surface and a plastic leveling card to remove excess. This is a documented system for Hallmark finishes, not blanket approval for other floors; the document also labels its markers for industrial use only.
A filler patch does not replace missing support or repair a loose joint. For a deep chip, split board or hole through the flooring, use the chip-repair decision guide or hole-repair guide before committing to filler.
3. Choose recoating only when the finish is still a suitable base
A maintenance recoat renews the protective surface without a full sanding to bare wood. It suits an intact, compatible finish with general dullness or light surface wear—not every damaged floor.
Bona’s recoating overview distinguishes light scratches from deep scratches that require fuller renovation. Whether full sanding is possible still depends on the floor’s remaining usable thickness.
Before recoating, identify the existing finish and cleaning-product history, resolve moisture problems and test the proposed coating’s compatibility. Minwax warns that clear finishes are not always compatible and that finish will not adhere to paste wax.
Stop before coating if there is exposed or gray wood, peeling finish, unresolved contamination or uncertain compatibility. Use the screen-and-recoat checks to decide whether preparation and a test area are enough or professional refinishing assessment is needed.
4. Diagnose gaps and distortion before filling or sanding
Gaps that open during dry months and close during humid months can be normal seasonal movement. Large gaps or gaps that do not close warrant professional assessment, according to NWFA’s problem-prevention guidance. Record indoor humidity and gap widths over time; do not treat a moving seam as a stable hole. The filler-by-repair-type guide helps separate those cases.
Cupping means the edges of individual boards sit higher than their centers. It is a moisture-related shape change, but the direction of the moisture problem depends on construction: solid flooring can cup when its underside is wetter, while some engineered flooring cups under excessively dry conditions.
Do not sand a distorted floor flat before its moisture content has returned to normal service conditions. Sanding wet, cupped boards can leave raised centers—crowning—after they dry. Wood Floor Business explains both the construction differences and the premature-sanding risk. Have a flooring professional check moisture conditions before sanding; a dry-looking surface or a fixed number of drying days is not enough.
For lifted flooring, restrict traffic across the trip hazard and investigate leaks or other moisture sources. Follow the buckling diagnosis and repair sequence rather than forcing the boards down.
5. Treat squeaks and sagging as a different repair task
A squeak identifies movement, not necessarily its location. Flooring, fasteners and subfloor components can all contribute. Water-damaged assemblies may also develop noise even after drying; refinishing alone does not address hidden damage. Hardwood Floors Magazine’s practitioner discussion describes these possibilities.
Locate the noise under normal walking and, where safely accessible, arrange inspection from below. Do not choose screw length or placement until the assembly and concealed services are understood.
Broad sagging, unusual springiness, new wall cracks or sticking doors move the task beyond touch-up work. HUD’s Residential Rehabilitation Inspection Guide, section 4.7, identifies these as possible structural warning signs and stresses that each sagging-floor case needs separate diagnosis. They do not, by themselves, establish the cause or severity.
Stop cosmetic work and obtain an assessment from a structural engineer when movement is worsening, supports appear damaged, rot is widespread or foundation cracking accompanies the floor problem. Do not start jacking or add leveling compound as a substitute for that assessment.
When requesting help, ask the contractor to identify which layer failed, what caused it and what must be repaired before the finish work. Bring your photographs, measurements, leak history and flooring records so the proposed repair addresses more than the visible symptom.